A WordPress child theme is a theme that takes over the functionality and design of an existing theme, called a parent theme. Child themes are the recommended method to change an existing WordPress theme without risk. There are two different ways to create child themes in WordPress.
A theme is quickly changed, here a few changes in the stylesheets, there a few changes in the template files. Unfortunately these changes will be overwritten at the next theme update. With the child themes you have the possibility to change and extend existing themes without the changes being deleted with the next update:
As tempting as working with child themes may sound, we must point out a few disadvantages:
There are two ways to create a child theme: First the manual and somewhat complicated method via FTP and the method via plugin. The second method is described below, all WordPress connoisseurs will find the first method faster.
For this method you need FTP access to your web server. For FTP access you need your FTP username, FTP password and FTP server address. If you don't have these data at hand, then have a look at the administration interface of your webhosting package or ask your provider.
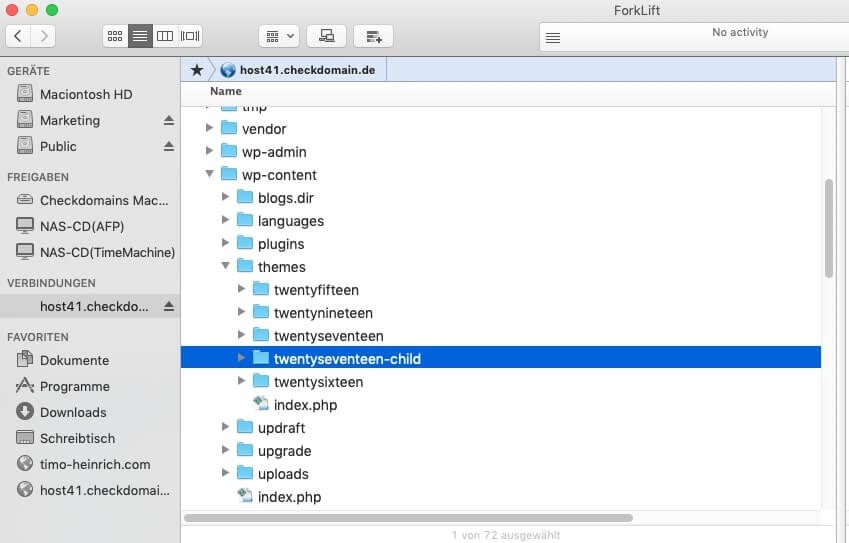
In this folder the files are created with which you change the parent theme. Search the FTP server for your WordPress installation, usually the path to the templates:
/wp-content/themes/
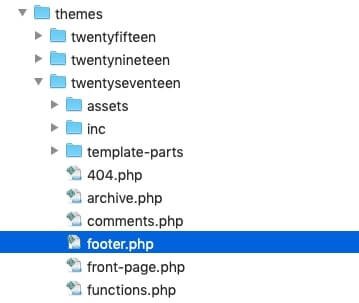
The Themes directory contains all installed WordPress themes. In this directory you can now create your child theme directory. In this example we want to edit the theme "twentyseventeen". For a better overview, we recommend adding the appendix "child" to the original directory name (marked blue in the screenshot):
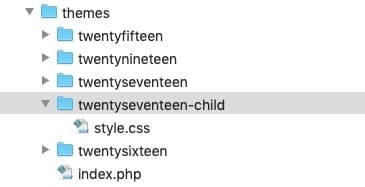
In the next step we create a stylesheet file with the name "style.css" and the following content:
/* Theme Name: Twenty Seventeen Child
Description:
Child-Theme Twenty Seventeen
Author: Checkdomain GmbH
Author URI: https://www.checkdomain.de
Template:
twentyseventeen
Version: 1.0
Text Domain:
twenty-seventeen-child
*/
Theme Name: This is the name of the theme, it appears in the backend.
Description: A description of the theme.
Author: The author of the theme.
Author URL: The author's website.
Template: This is the most important information, here you specify the theme you want to change. Since we want to change the theme "Twenty Seventeen" and the theme is stored in the directory "twentyseventeen", we enter the directory name "twentyseventeen" here.
Version: Here you can enter a version number of your child theme
Text Domain: For possible translations.
Copy the file into the newly created Child Theme folder.
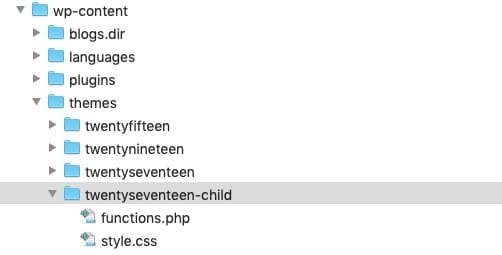
Next, create another file: With the function.php we define that first the Parent Styles and then the Child Stylesheets should be loaded.
We also upload the functions.php to the Child Theme folder via FTP. Now there are two files in our child theme directory:
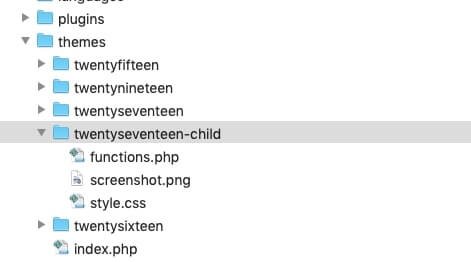
So that you can recognize your child theme immediately in the backend, we recommend that you store a screenshot for the child theme. Create a graphic with the following features:
filename: screenshot.png
Width:
600 Pixel
Height: 450 Pixel
Location:
The Child-Theme directory
Place the screenshot in the Child-Theme directory as well.
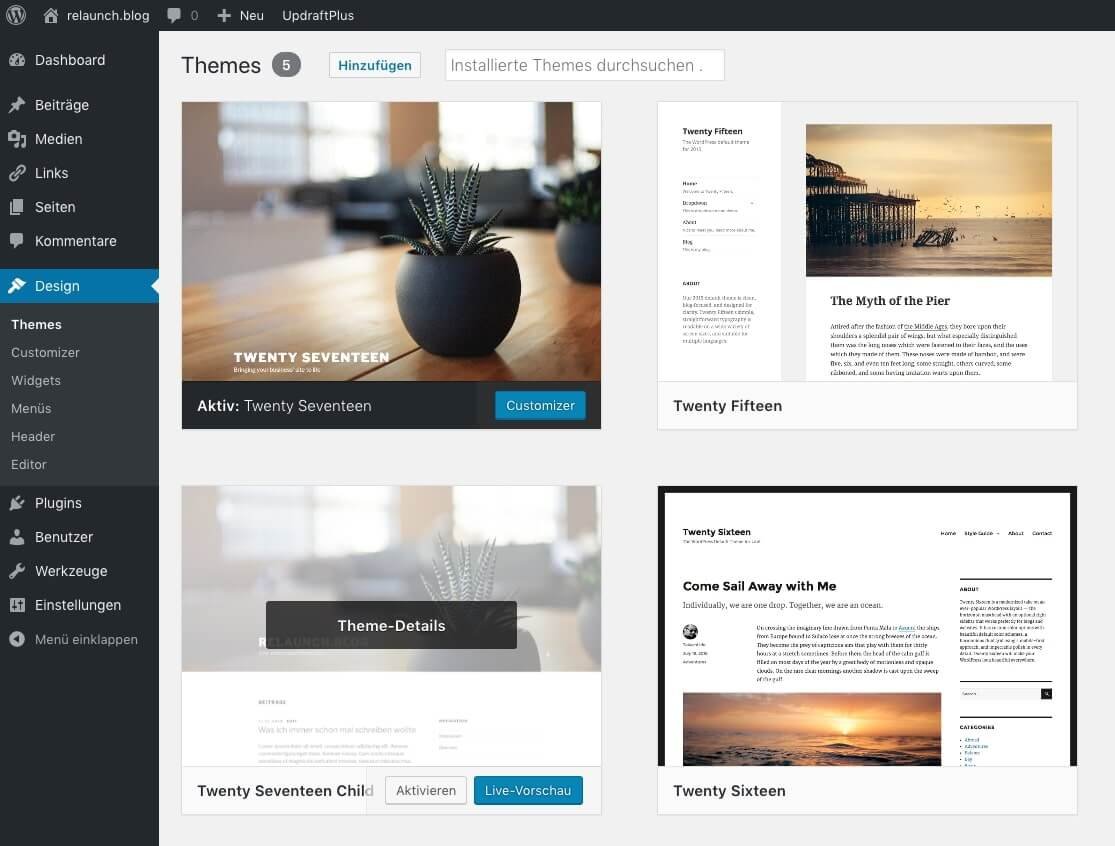
Now all you have to do is activate the new child theme in the backend. Go to Design > Themes.
If everything went fine, you should see the screenshot of your child theme in the theme overview:
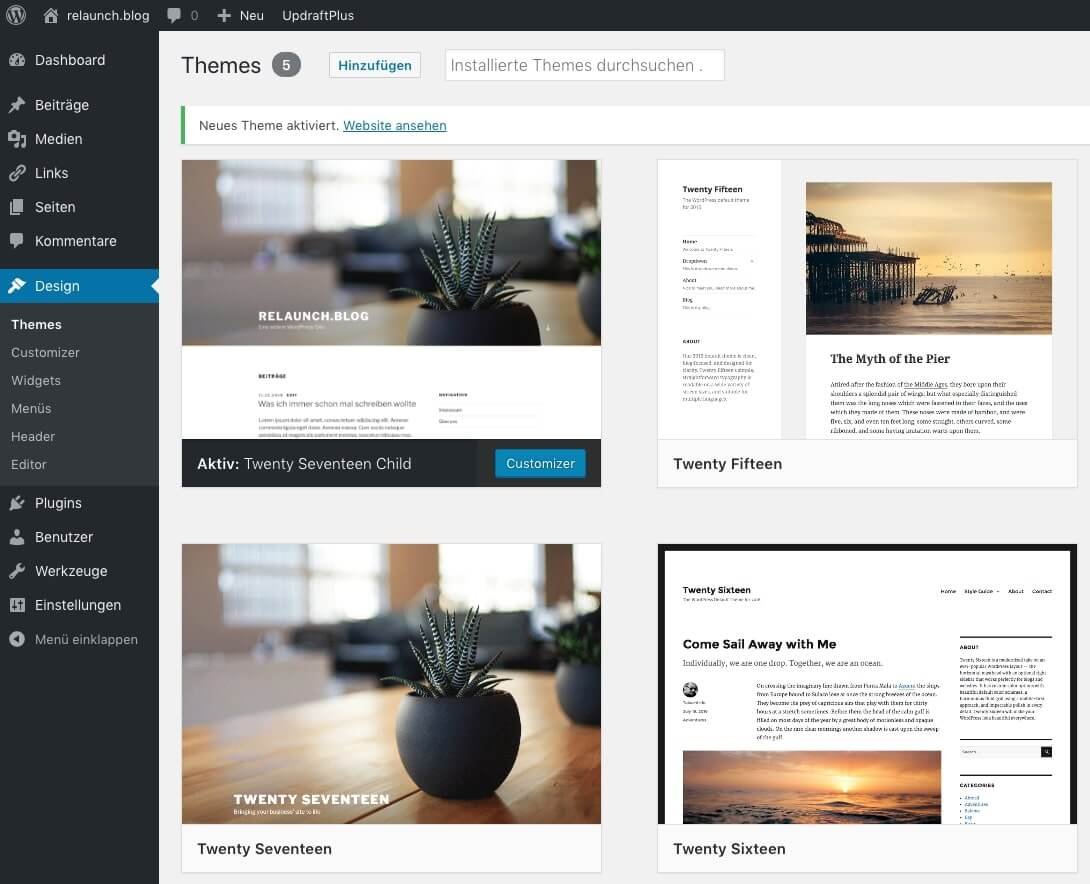
Now activate the child theme by clicking on "Activate". The active theme slides up in the theme list and is displayed as "Active".
After we have created our child theme, we also want to change the design. In this example we change the font of the post text. The default font is the Google Font "Libre Franklin" - we change the font to the serif font "Vesper Libre".
All we have to do is insert two lines of code in style.css:
/*
Theme Name: Twenty Seventeen Child
Description:
Child Theme Twenty Seventeen
Author: Checkdomain GmbH
Author URI: https://www.checkdomain.de
Template:
twentyseventeen
Version: 1.0
Text Domain:
twenty-seventeen-child
*/
@import
url('https://fonts.googleapis.com/css?family=Vesper+Libre');
p, ul, ol, li {font-family: 'Vesper Libre', serif;}
We already know the first block and leave it untouched. Under the block two new lines are added: In the first line we import the font from the Google servers. In the second additional line we define that all paragraphs and lists should be displayed in the font "Vesper Libre".
Tip: New fonts can be found at https://fonts.google.com
There are also easier ways to change the fonts in WordPress, for example with the plugin "Easy Google Fonts". You can find the plugin here: https://wordpress.org/plugins/easy-google-fonts/
What works with style.css also works with template files. As soon as you copy a template file into the Child-Theme folder, you can "safely" change it there.
In this example we want to change the footer which is controlled by the file "footer.php". In the first step, download the footer.php from the parent theme directory.
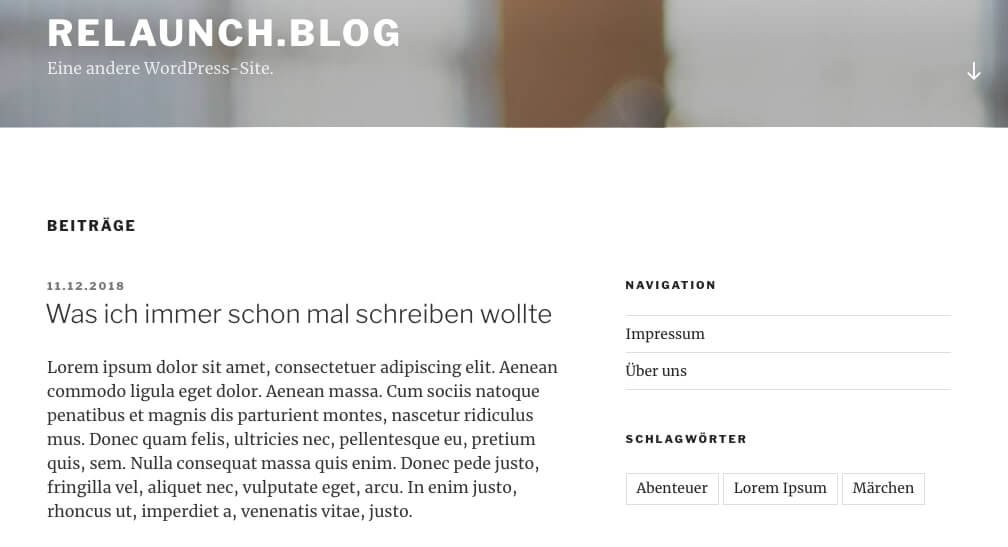
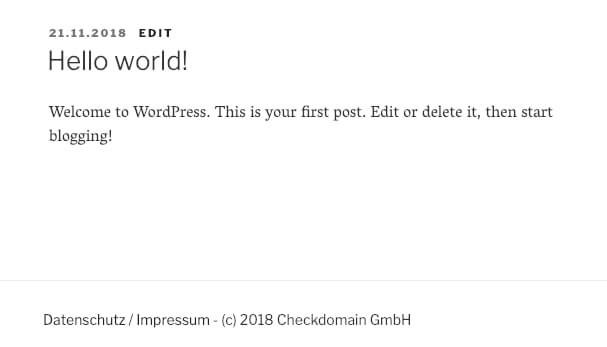
Now you can edit the file. In our example I remove the default navigation and the addition "Pride presented by WordPress". Therefore I add a link to the privacy policy and the imprint as well as a copyright notice.
The source text in the footer then looks like this in extracts
The part responsible for the old content is commented out by "//", which means that this code is not executed. Below the comment is the new source code: just two links and the copyright notice.
Then load the changed footer.php into the Child Theme folder, the changes should be visible immediately in the footer (if everything worked fine).
The path described above may be somewhat complex for WordPress novices. But there is also the possibility to create child themes via plugin. The "Child Theme Configurator" plugin enables you to create your own child themes without FTP access or programming.
To install the plugin, search for "Child Theme Configurator" in the plugin administration
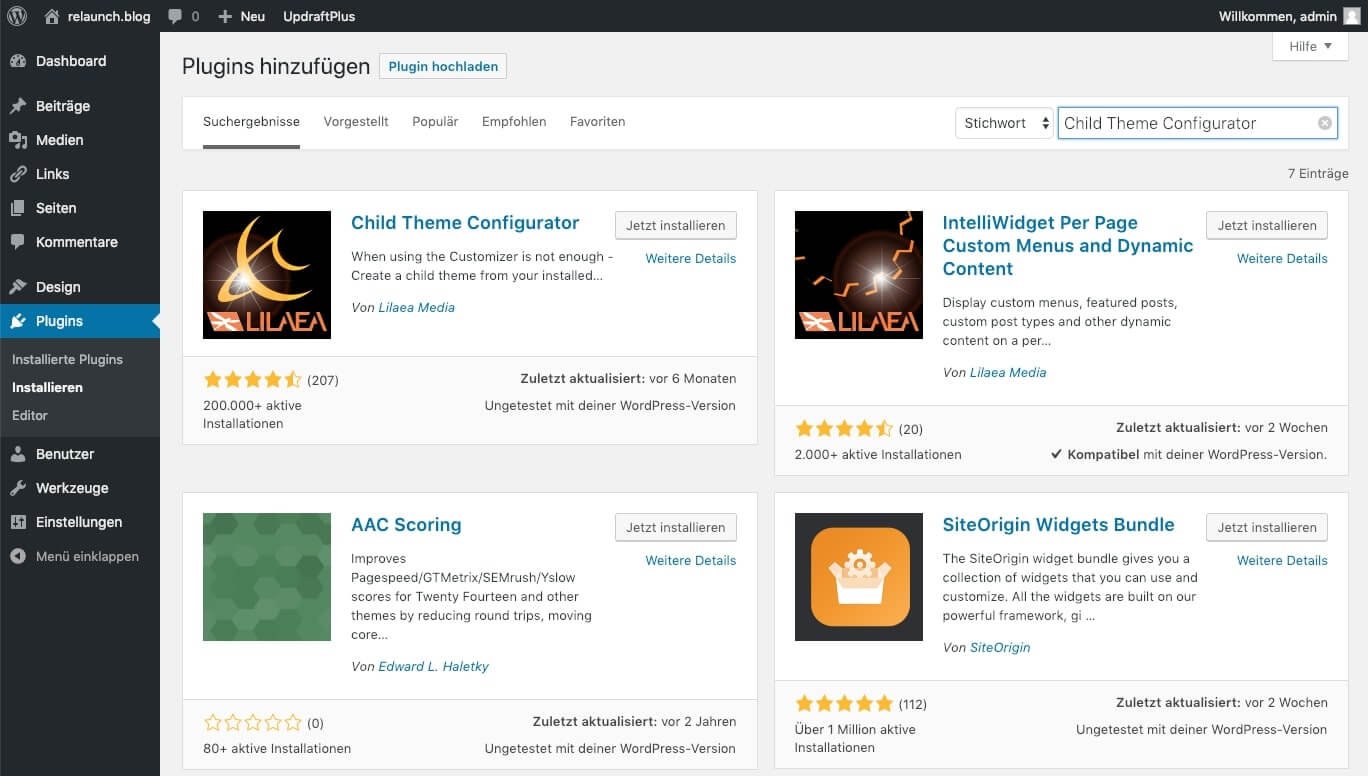
Install and activate the plugin. You can find the plugin in the navigation under "Tools" and there as submenu "Child Themes".
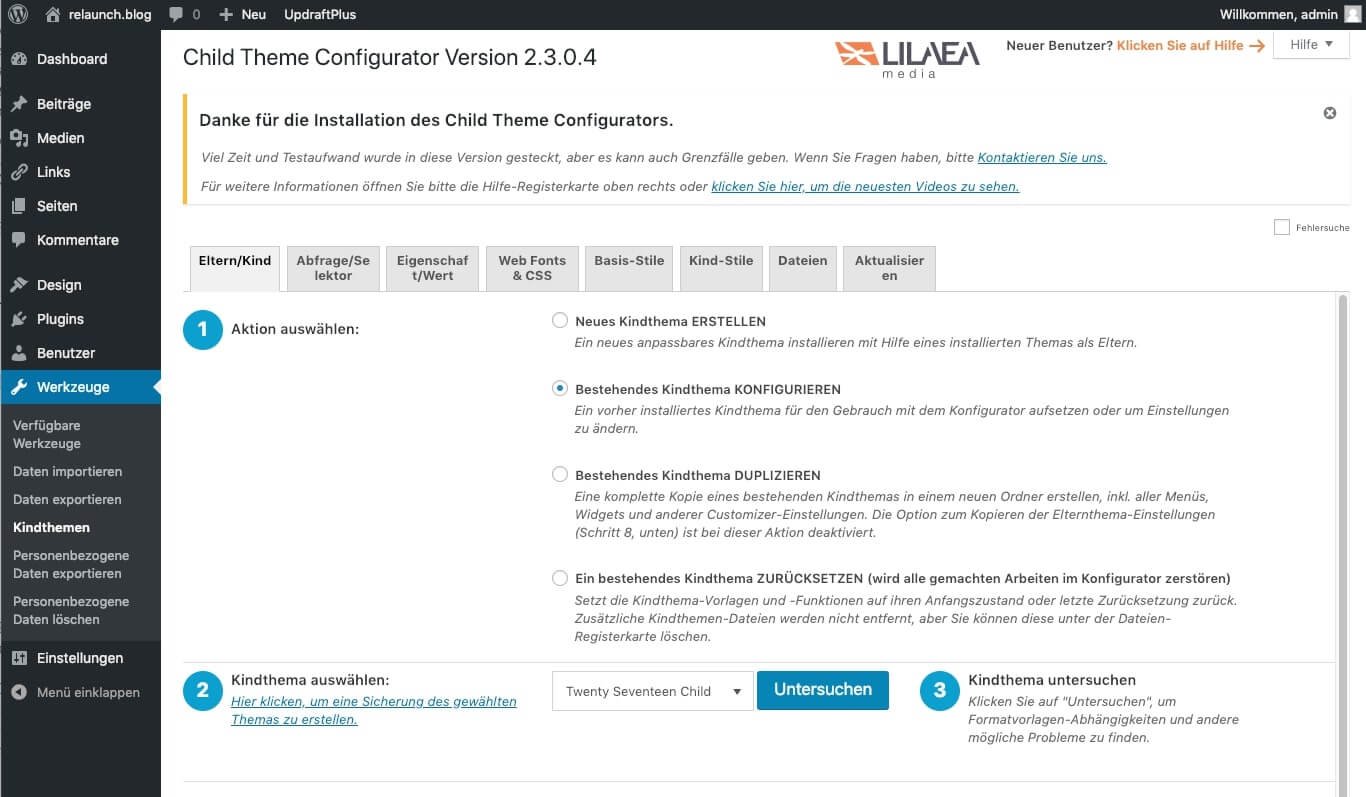
As shown in the screenshot, you have several options with the plugin:
Depending on whether the plugin finds an existing child theme in the theme directory, the above choices may vary.
When you create a new child theme, you must specify the following:
Since not all themes are always programmed on the same technical basis, the plugin first checks whether the theme is suitable for a child theme after specifying the parent theme. With some themes it can happen that these are not suitable if the programmers of the theme have not adhered to the WordPress conventions for theme creation.
Since the setup process is a bit more complex, the author of the plugin has kindly provided a video for you to watch.
With child themes, it is possible to intervene in the design of the themes without having to edit the parent theme. The parent theme can still be updated in this way, but the changes made to the child theme are retained. However, there is a risk that security holes will be integrated into a child theme, and these security holes cannot then be resolved automatically. No matter which method you use to create the child themes, you should know what you are doing (as so often in life). Both ways are not trivial, if you know WordPress well, the manual way is surely faster. If you are a WordPress beginner, you can get a working child theme faster with the plugin.