All files - such as images, PDFs and videos - are stored in the WordPress media library. New files can easily be uploaded via drag and drop or via the file upload dialog. When uploading images, additional image versions for previews and large views are created, depending on the settings.
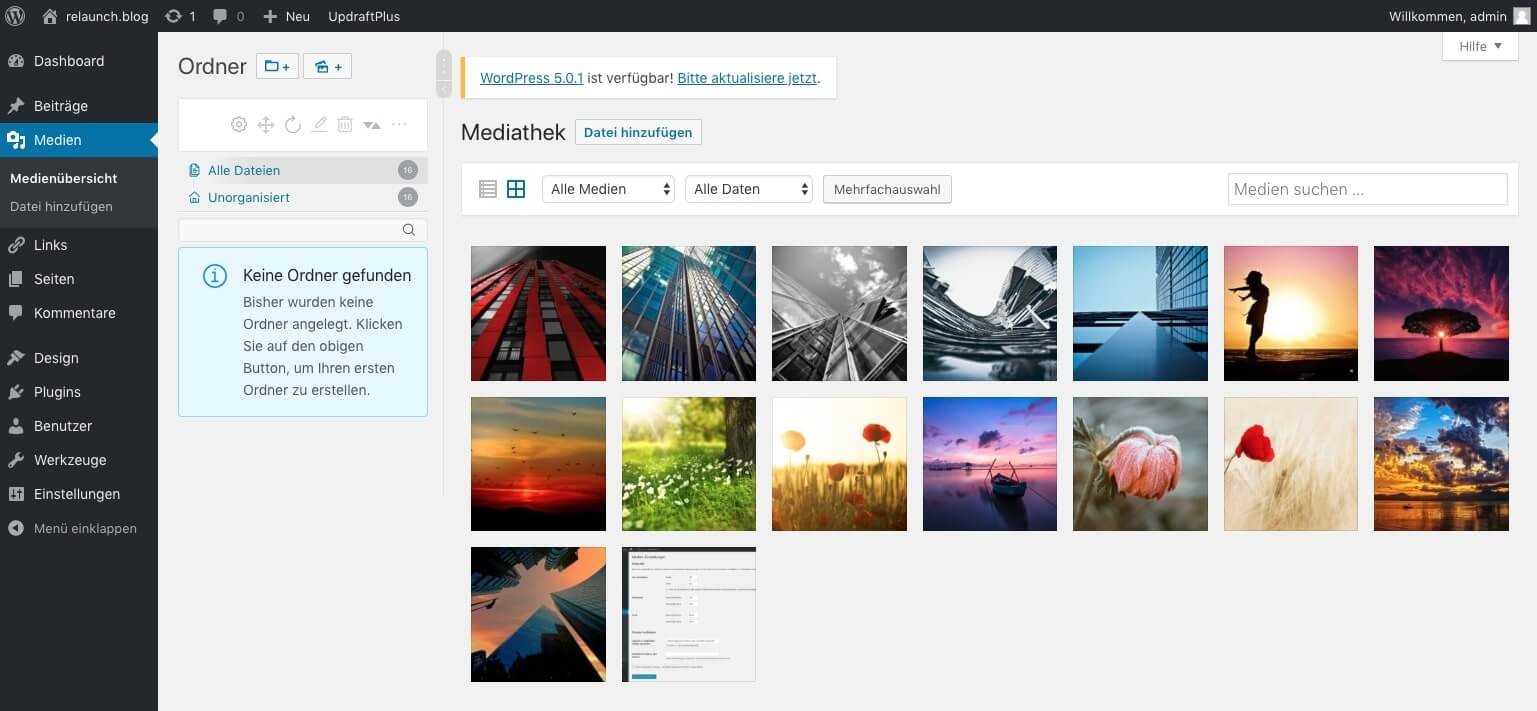
All media files that you use in WordPress end up in the media library. You access the media library via the navigation point "Media" and receive a list with your media. Depending on the view, you will see a table with further details for each file or a simple tile view. You can switch between the views by clicking on the corresponding icons at the top left.
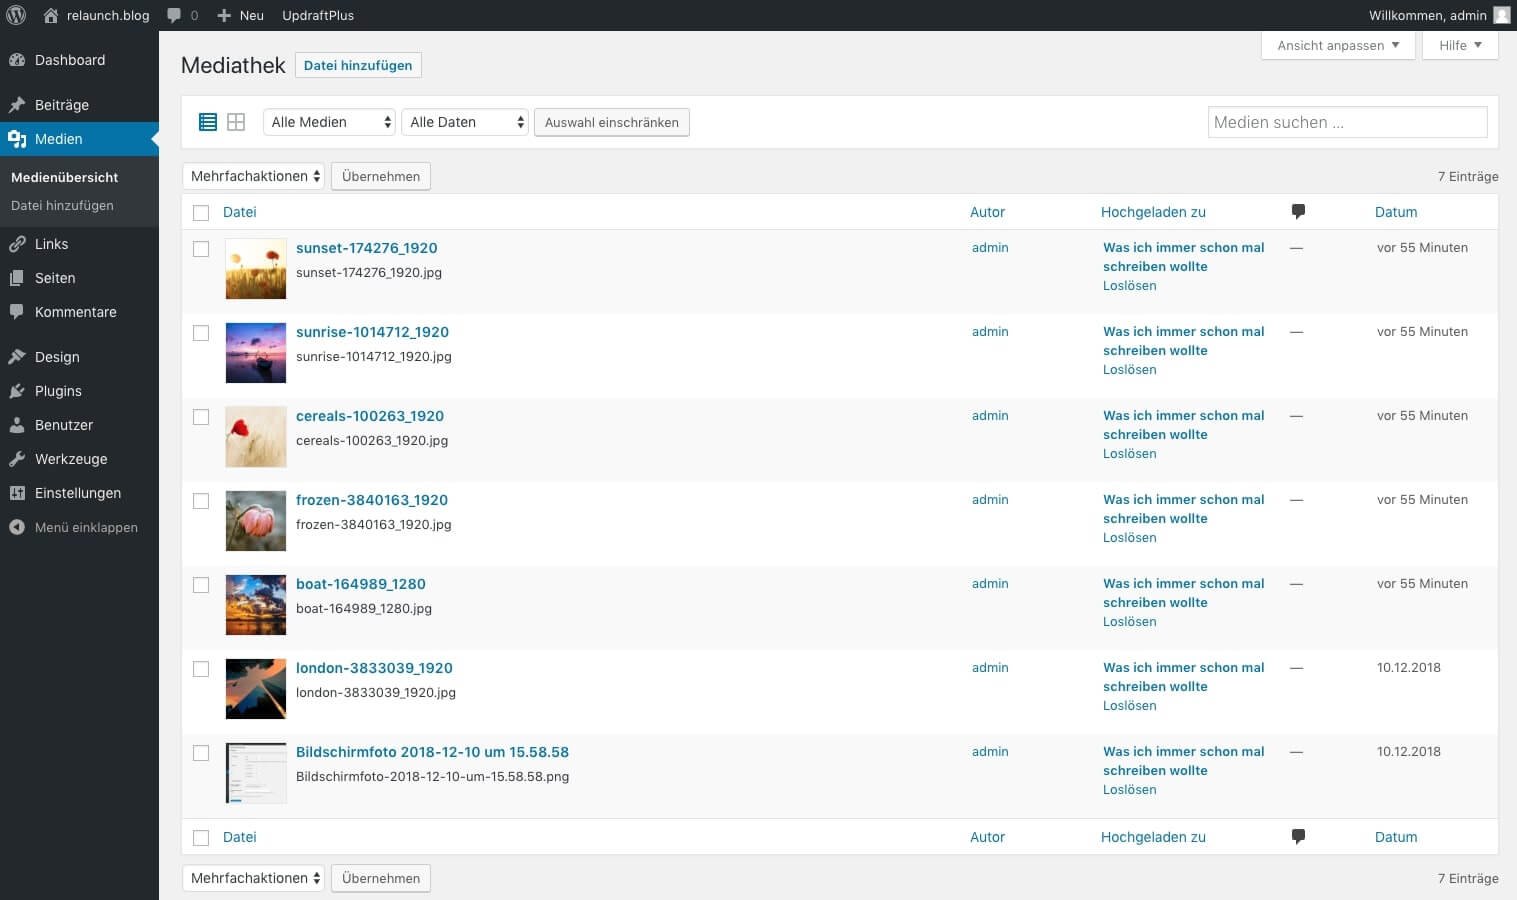
In the column above the table you have further filter options:

With the filters you can filter by file type and by upload date. You can also use the search field to search in the additional fields of your files. For example, if you add a description to an image, you can use the search function to search in this description field.
In the left main navigation, there is another link "Add file" if the media library is active. Click on this link to upload files. It opens in the main display area of the file uploader:
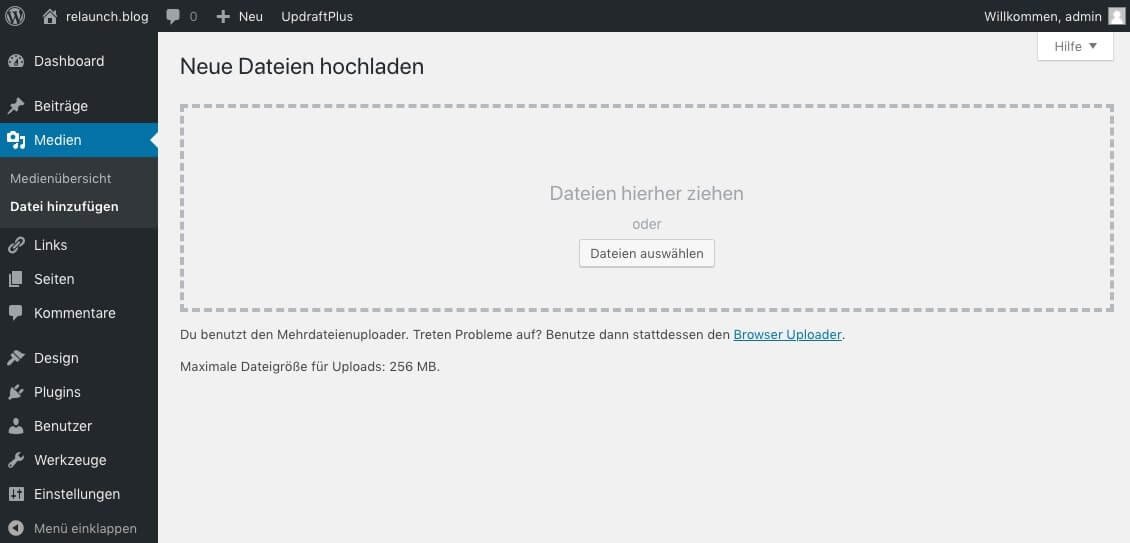
Here you have various options for uploading files: You can simply drag and drop the files into the field, you click on "Select files" or you click on the link "Browser Uploader". With all variants you get your data into the media library. Below the upload field you will see an important information:
"Maximum file size for uploads: 256 MB".
This setting limits the maximum file size. In this case 256 MB are real luxury (and standard for checkdomain). Despite the relatively high MB number you can quickly reach this limit when uploading a lot of files. The upload will then be aborted. In older hosting environments a value of only 2 MB can be set here, in this case you will quickly reach the maximum file size. If your maximum file size is too small, contact the support of your provider. Usually this limit can be moved up.
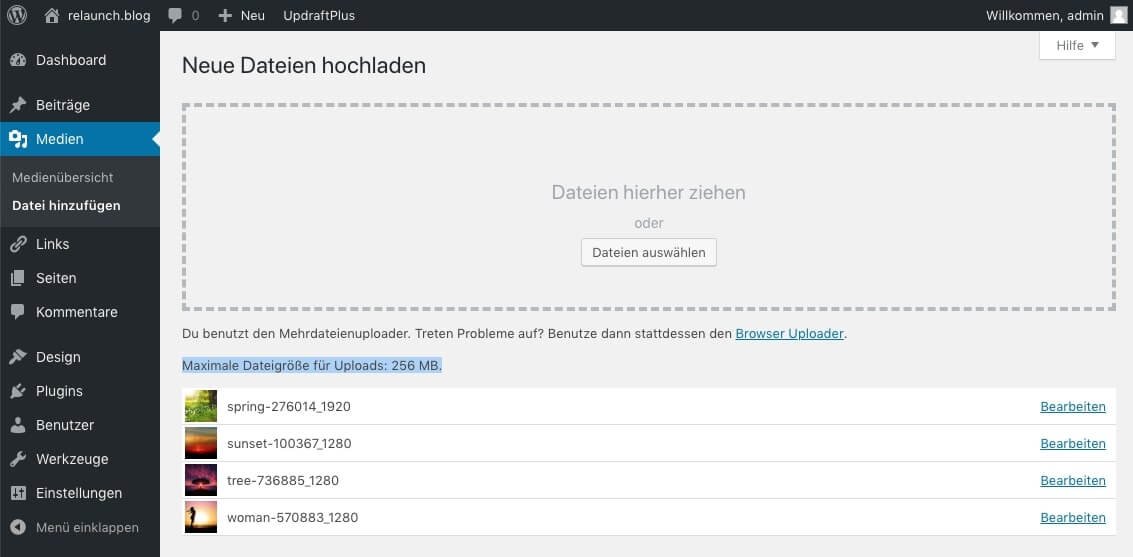
On the next screenshot you can see the result after uploading via drag and drop. The uploaded images appear as a list, with a small preview:
Behind each image there is a link to "Edit". If you click on the link, a new tab opens with the corresponding picture. The following screenshot shows the editing mask. In this mask you can enter further information about the image. The texts you enter in the fields "Caption", "Description" and "Alternative text" will also be used later by the search function in the media library. So it makes sense to fill in one or the other field appropriately in order to be able to find pictures in the media library later.
Further details of the image, such as the file name, the image size or the storage date, are displayed on the right-hand side:
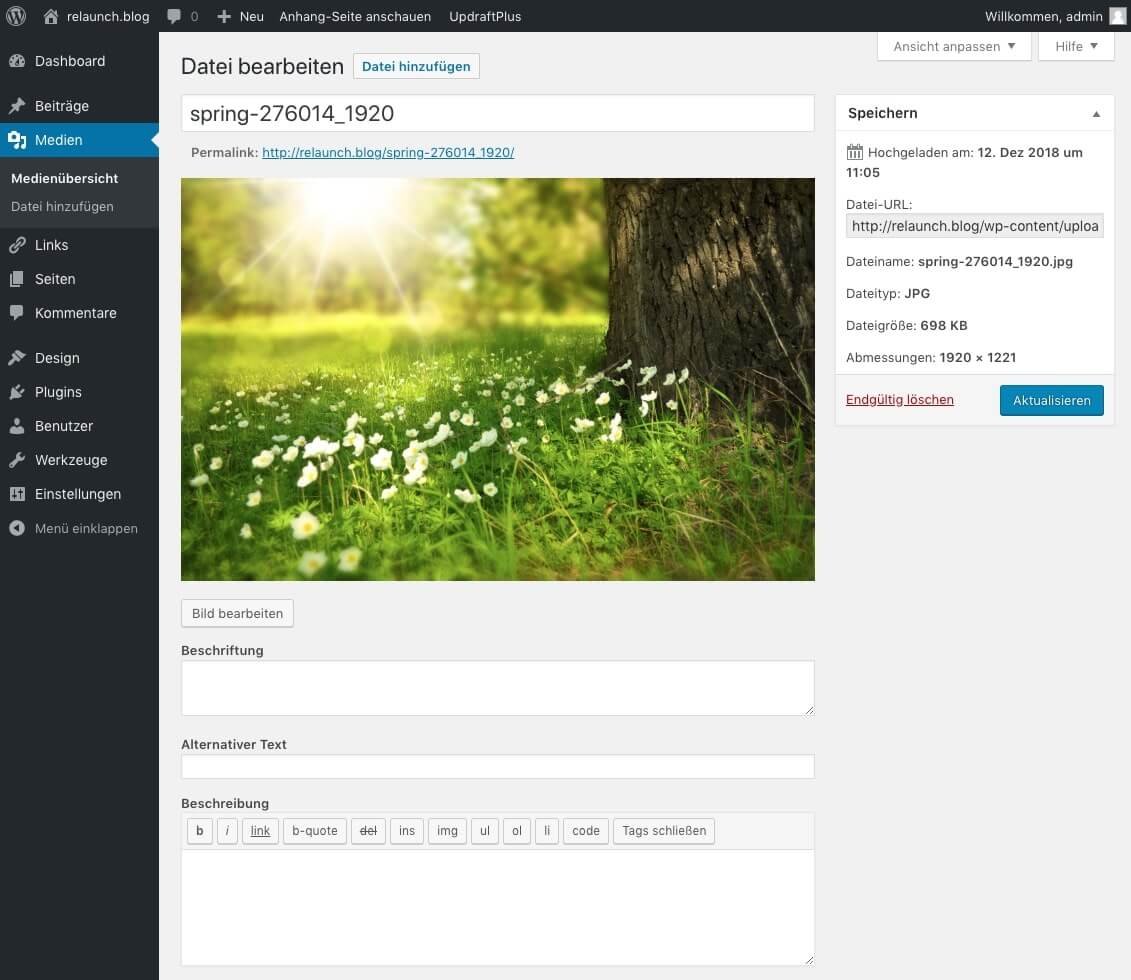
For each image WordPress automatically creates a separate page in the frontend, this page is accessible via the displayed "Permalink". In this example the link is: http://relaunch.blog/spring-276014_1920.
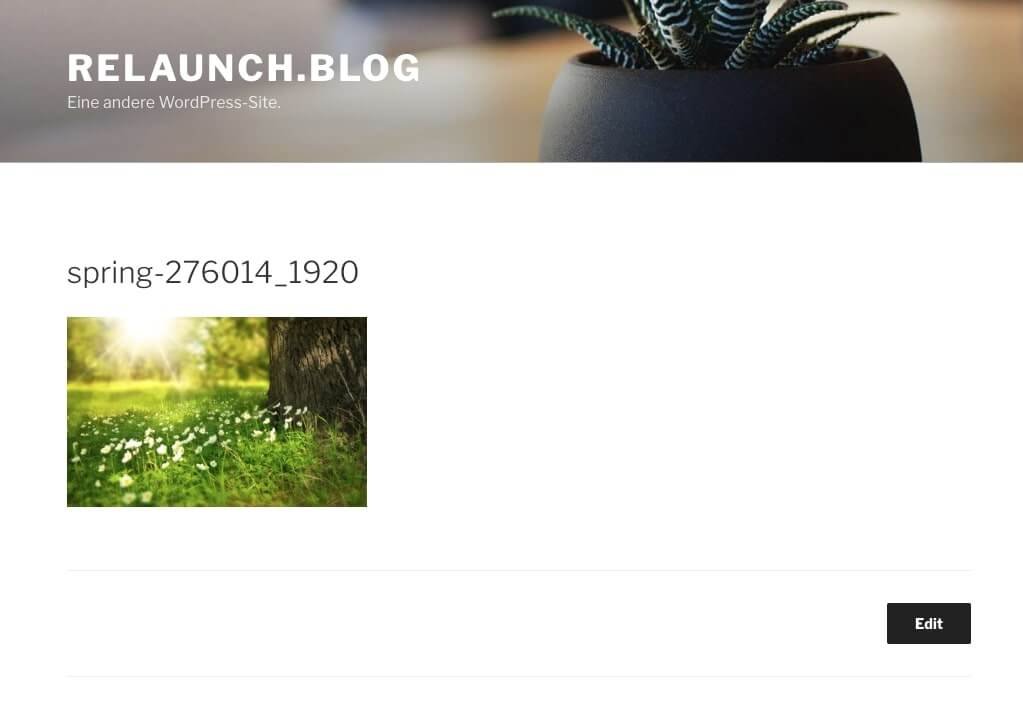
The screenshot above shows such a detail page, also called "attachment page". These pages are often superfluous, as they hardly provide any more information. The search engines read these pages, which is no problem for small blogs with only a few pictures. With larger blogs with many pictures these sides can be problematic for the search machines. On the one hand these pages contain no added value and on the other hand they "clog up" the index of the search engines unnecessarily. In addition, these pages all look identical for search engines and could thus be classified as "duplicate content", which in turn could have a negative effect on the ranking of the blog.
You can prevent the search engines from reading the attachment pages. There are several solutions to this problem, the easiest is to install the plugin "Attachment Pages Redirect".

This plugin simply redirects the attachment page to the corresponding article via permanent redirect. If the article/contribution no longer exists, it is redirected to the start page via temporary redirect. Due to the permanent redirection, the search engines "forget" the attachment pages at some point and try not to read them anymore.
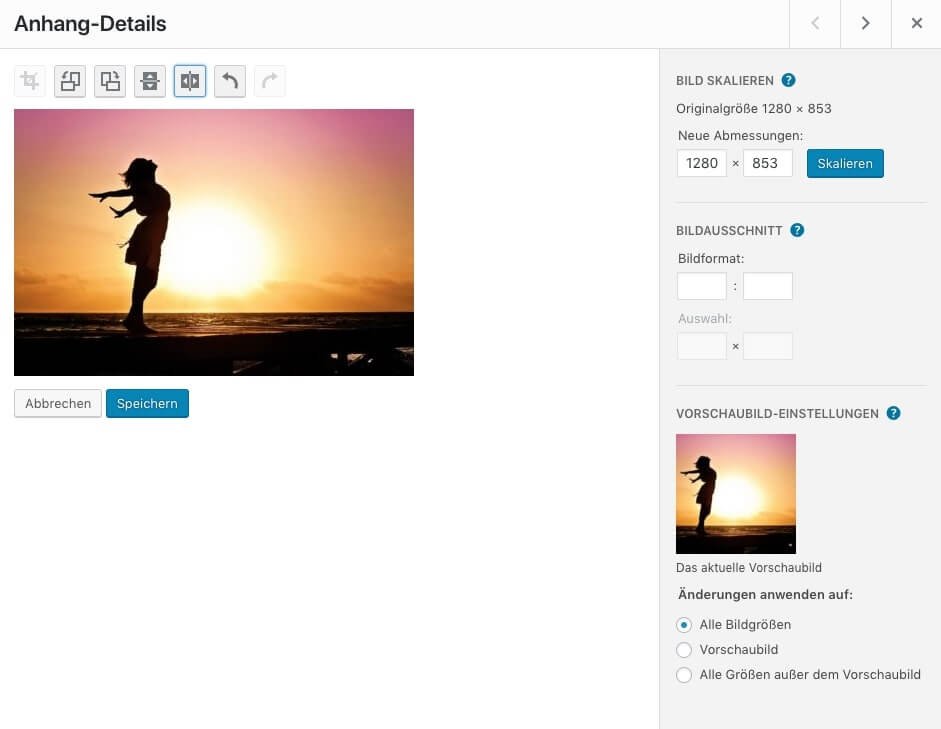
WordPress includes thumbnail editing, you can rotate, mirror and crop the images. In addition, you can define the image size and cropping. Click on the "Edit image" link to open the image processing mask:
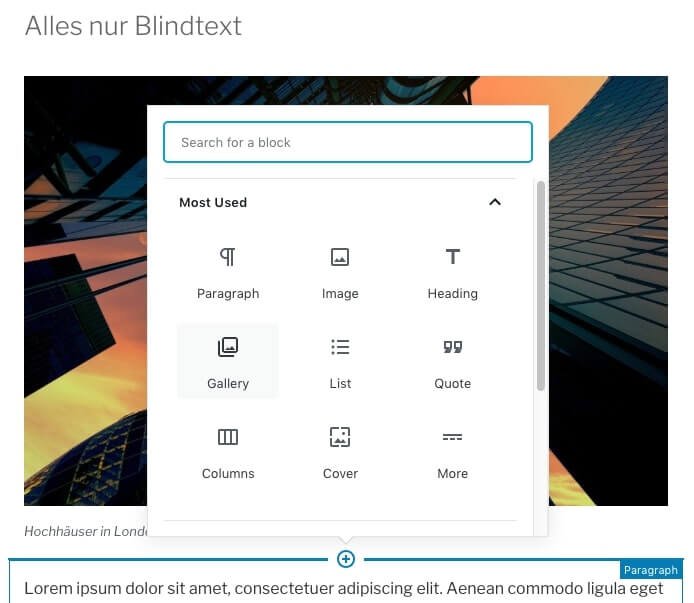
Now you have uploaded your pictures to the media library and of course you want to use them in your contributions. Open a blog post and click on the "+" sign above a block.
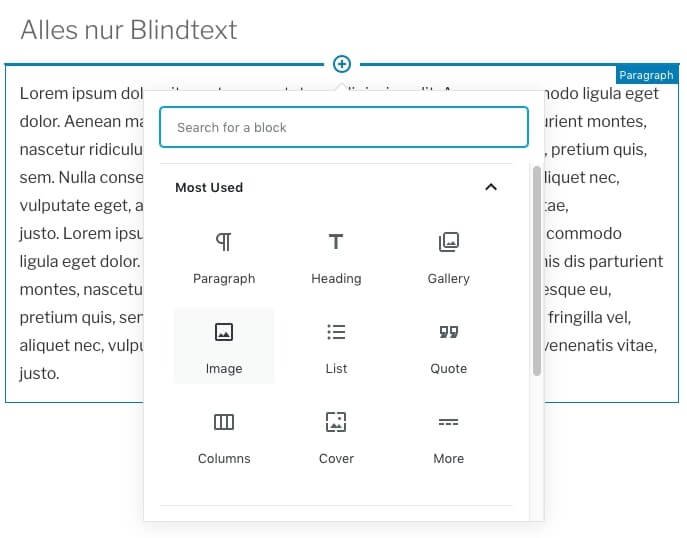
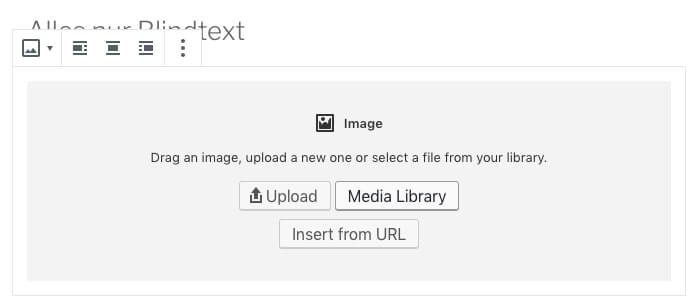
Choose the icon "Image", a dialog will appear where you can choose between different options. Since we want to use an existing image from the media library, please select the option "Media Library".
In the window that opens, select the "Media library" tab. You will get an overview of your pictures.
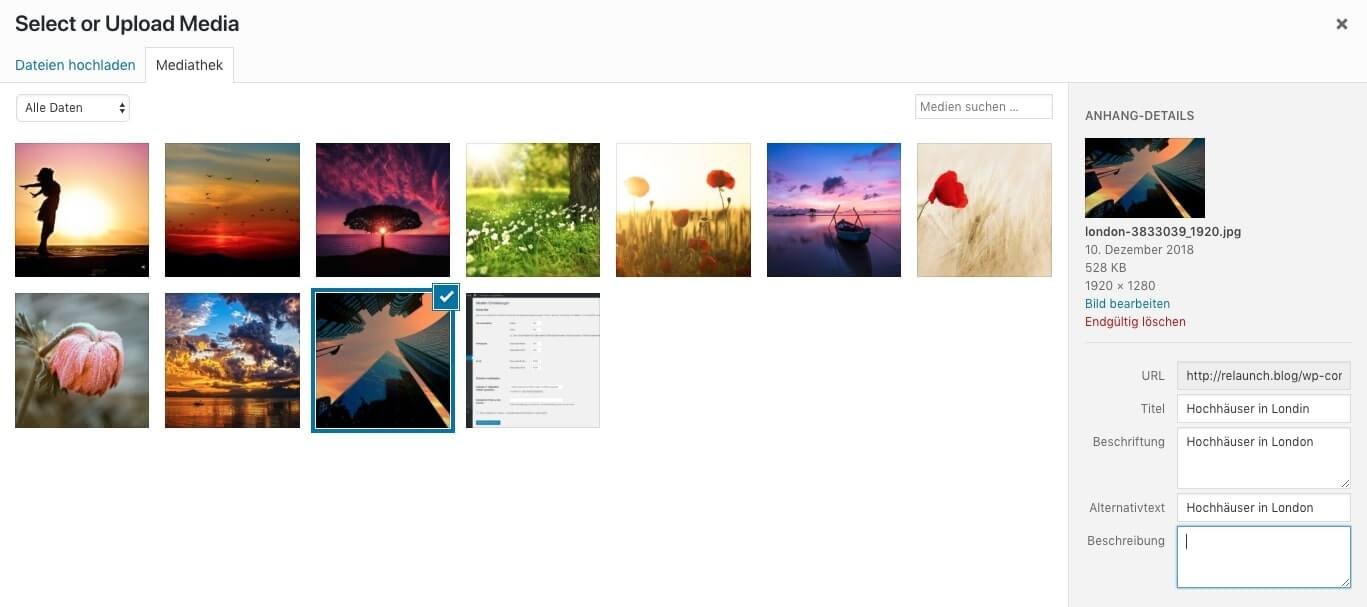
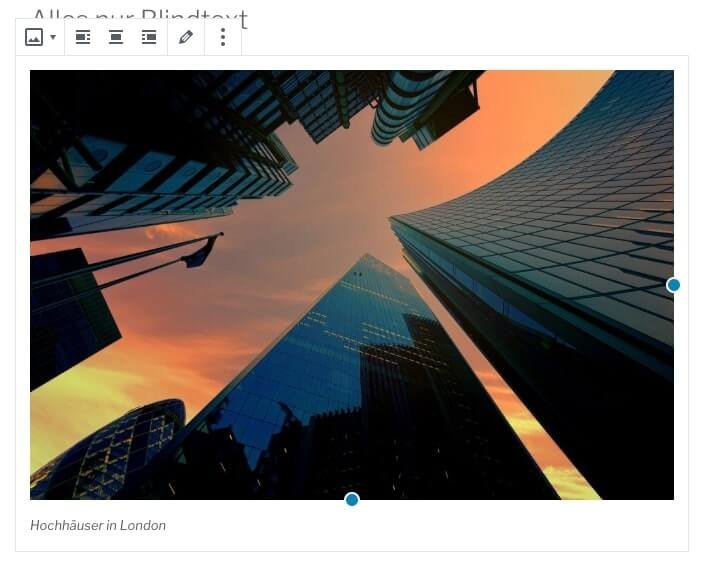
Click on the image you want to use in the post. You can enter additional information about the image on the right. The fields can also already be filled in if you entered these details when uploading the pictures. Click on the blue "Select" button at the bottom right to insert the picture. If everything went fine, the image should appear in your post.
What works so easy with one image also works with several images. With a gallery, you can quickly and easily display multiple images in a block. We edit an existing article again, but in this example we don't add an "image" but a "gallery".
Click on the "Gallery" icon and then on "Media Library" as in the example above and then on "Mediathek" again. Your media library will open again with the already uploaded pictures. Now you can click several pictures for the gallery.
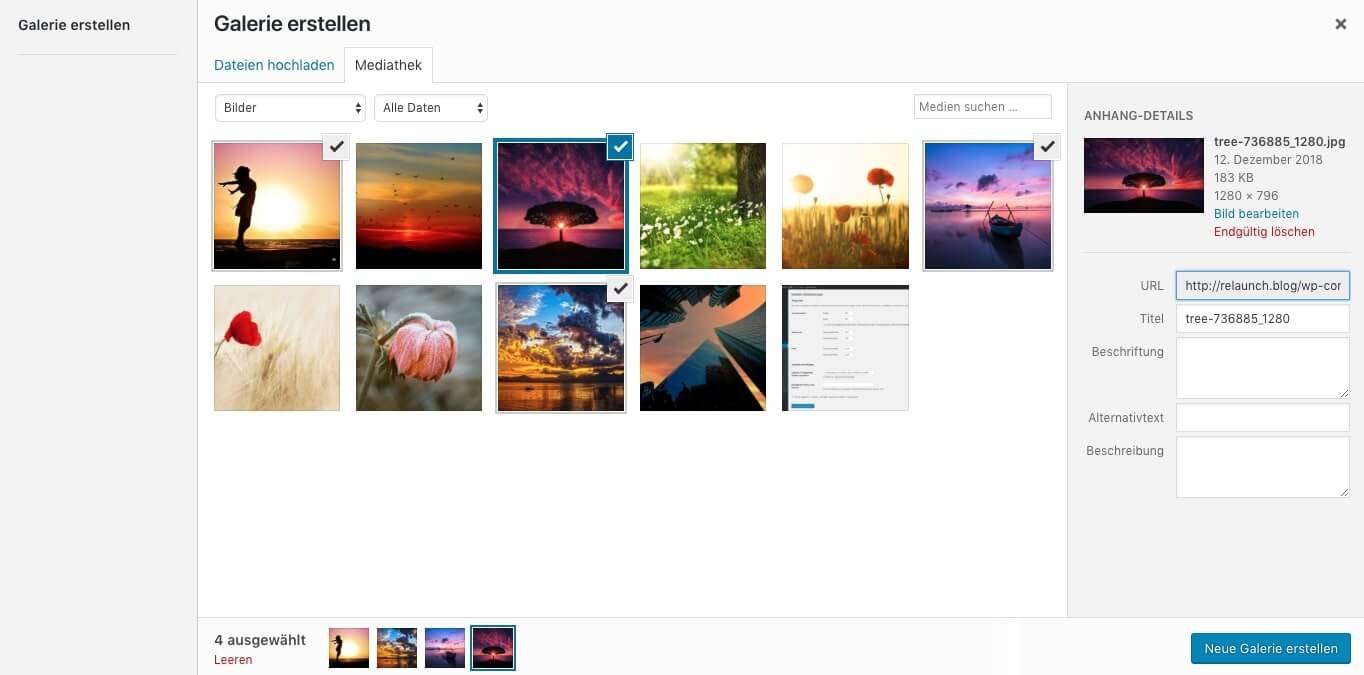
The selected images appear at the bottom of the screen. By clicking again you can remove the pictures from the selection. Then click on the blue button "Create new gallery".
In the next step you can sort the pictures and label them:
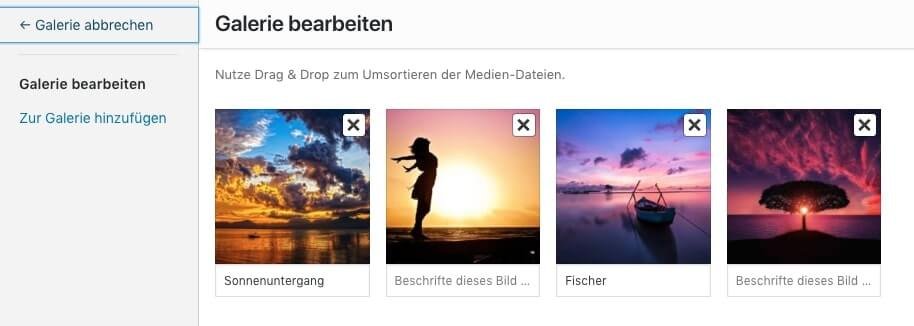
Existing captions are taken over, for unlabeled pictures you can add a caption. To insert the gallery click on "Insert gallery".
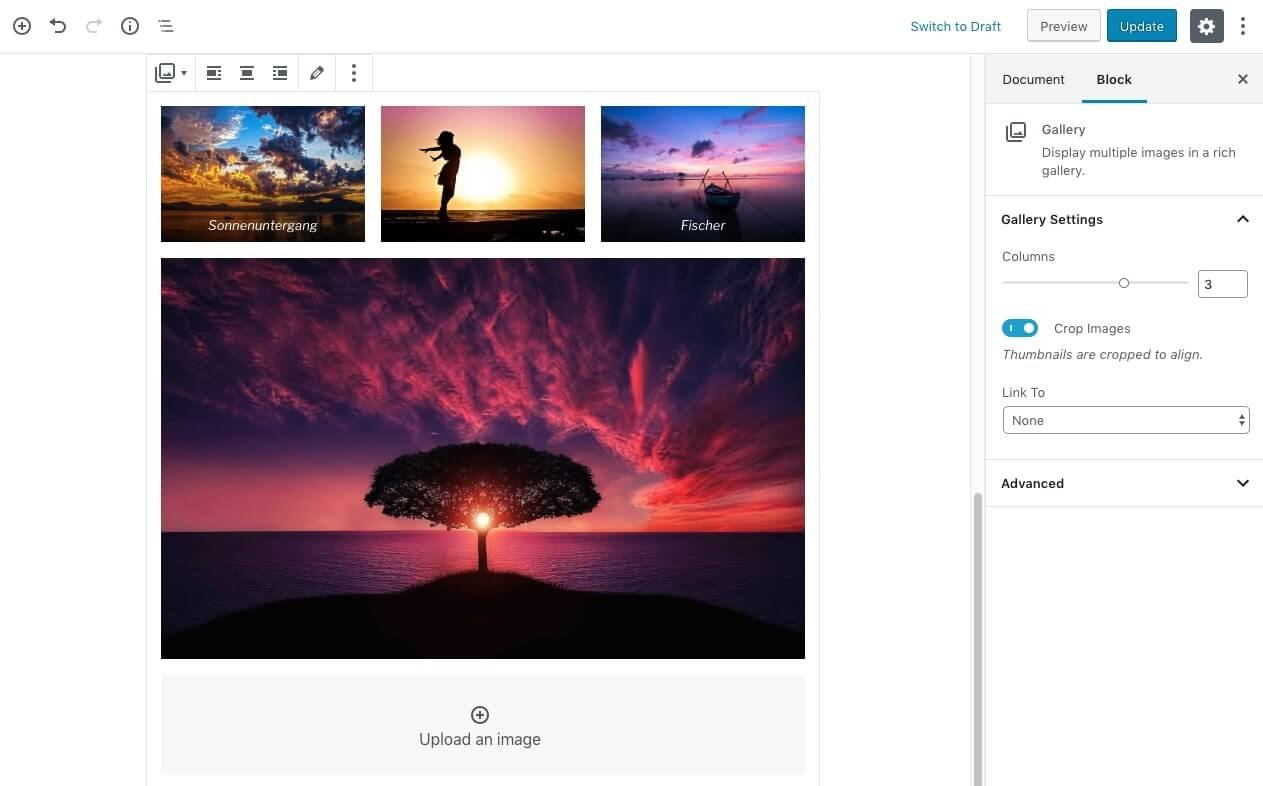
On the right side you can set how many columns and if and where the images should be linked. Since we have set three columns here, but four images are displayed, the fourth image is displayed larger. With the slider "Columns" you can change the number of columns afterwards.
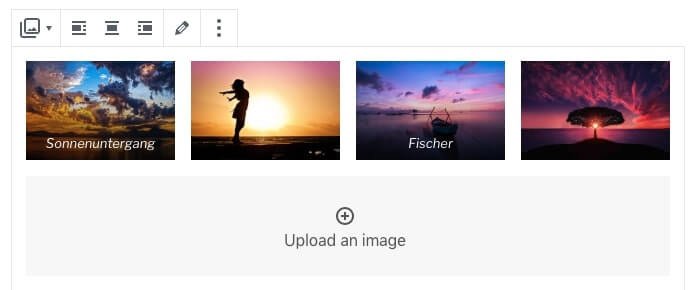
With the gallery function, you can quickly and easily create attractive picture galleries - without having to install additional plug-ins.
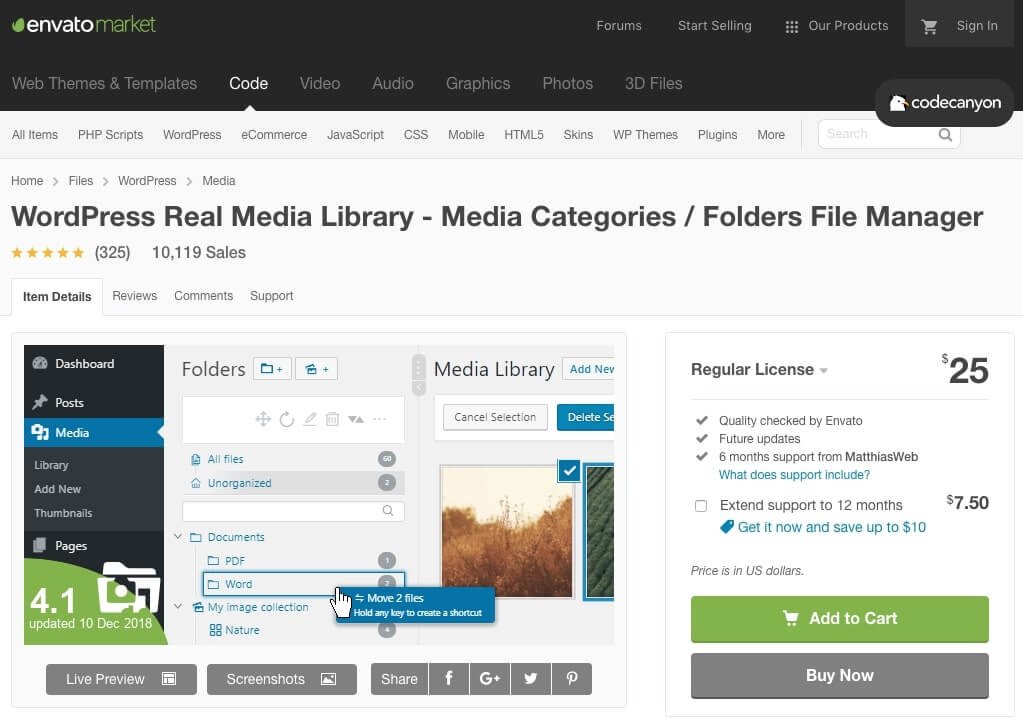
In our examples the number of uploaded pictures is manageable. In the course of time, however, your blog will contain more and more pictures and thus the media library will quickly become confusing. WordPress itself does not provide an elegant solution for sorting and organizing media content in the media library. But there are plugins that can bring order into the media library. In this article we introduce you to the "WordPress Real Media Library".
The plugin is not free, but for $25 you get a powerful tool that brings order to your media.
To the Plugin: https://codecanyon.net/
The plugin is installed manually, you can read how to do this here
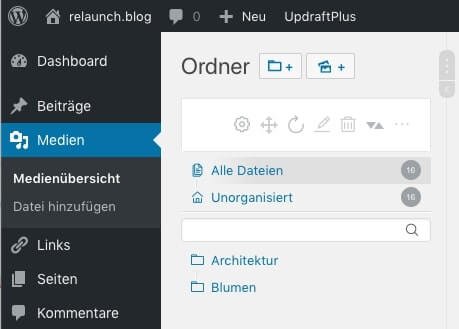
After installing the plugin you will see another menu in the media library. The following picture shows the menu directly after the installation, no categories or folders have been configured yet.
In our example blog we want to assign the architecture images to a folder by clicking on the folder icon:

You can then enter the folder name:
And because it is so beautifully simple, we create also still another folder "flowers". The two folders now appear in the menu:
The images are assigned by simply dragging the images onto the folders. Click with the left mouse button on an image, keep it pressed, drag the image to the folder and release the mouse button again. The number behind the folder shows you how many pictures are stored in the respective folder. The images are not physically moved, but only linked. So if you delete a folder, you don't delete the pictures but only the "virtual" folder.
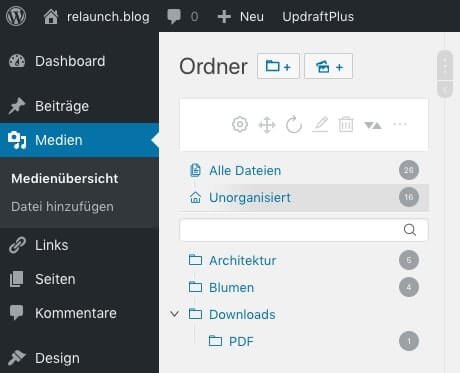
Of course you can also create subfolders. Open a folder and click on the "New Folder" icon. In the following I have created a folder "Downloads" with the subfolder "PDF":
After you have created the folders, you can now upload the images directly to the respective folders. Just open the destination folder and upload the files directly. The same applies here: The files are only linked to the folder, physically the files are in the media library.
But there's still a small downer: The search function of the plugin searches only the folder names, not the descriptions and information in the images. For this you still have to use the normal search function. But at least you will find your folders quickly.
Conclusion about the plugin: With the plugin "Real Media Library" you can create folders quickly and easily. The simple operation makes working and organizing really fun. The plugin is compatible with all themes, as it only nests in the backend area. So: absolute recommendation!
With the media library you manage your files in your WordPress blog. You can search the media library, but you should start early to sort your pictures and files with additional plugins, so that you can find everything again later. Avoid the so-called attachment pages, you save the search engines a lot of work.