The WordPress Dashboard is the central point of your WordPress blog. From here, you control your entire WordPress page, post content and blog articles, and install plugins and themes. You can administrate the complete WordPress system via the various settings.
This article describes the most important elements of the WordPress dashboard and explains how you can make changes to the dashboard.
By default, the dashboard can be reached via the address /wp-admin/. In our example blog the address is: http://relaunch.blog/wp-admin/. If you install Wordpress in a subdirectory, then the dashboard is located in the corresponding subfolder, for example. https://yourWordpress.com/blog/wp-admin/
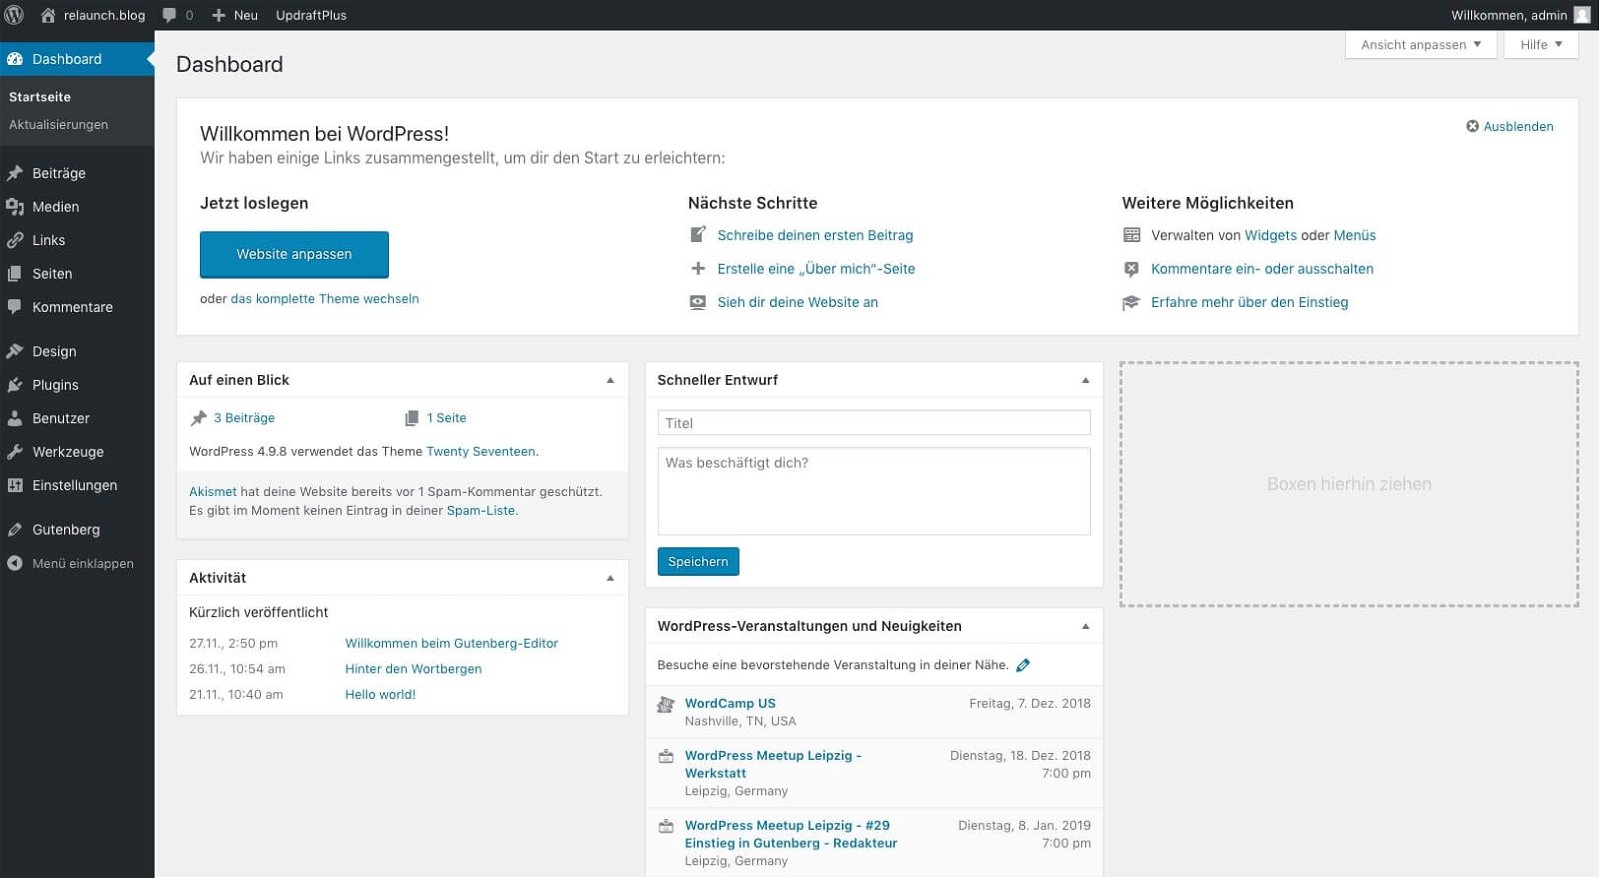
After registration you will see the dashboard:
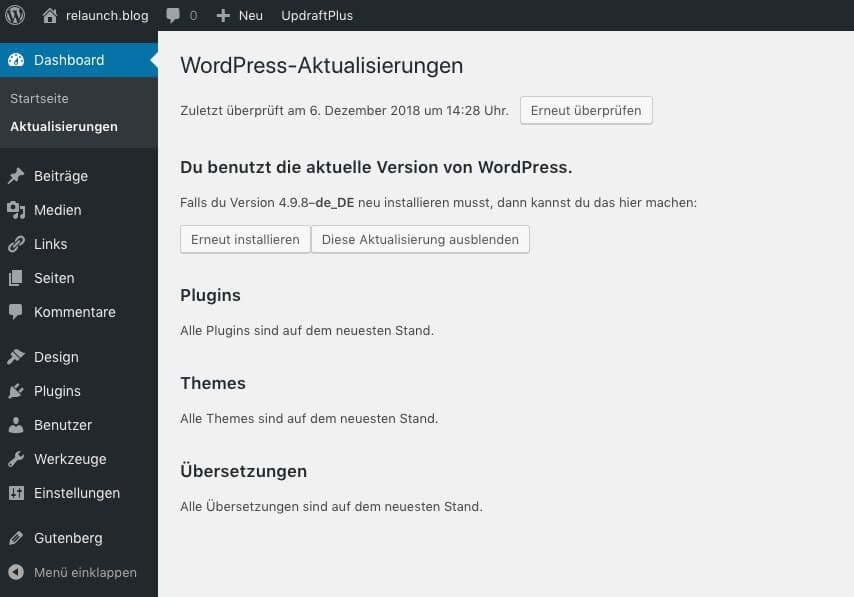
The Dashboard consists of two sections, the Dashboard and the Updates subpage. You can access the updates via the navigation in the left column. This page shows the version of your WordPress installation, plugins and themes. From here you can also reinstall your WordPress.
In the main display area of the dashboard, you'll see various tiles, often called boxes, with information and links.
In the first tile, you'll see basic administrative tasks, such as links to theme installation or how to create posts.
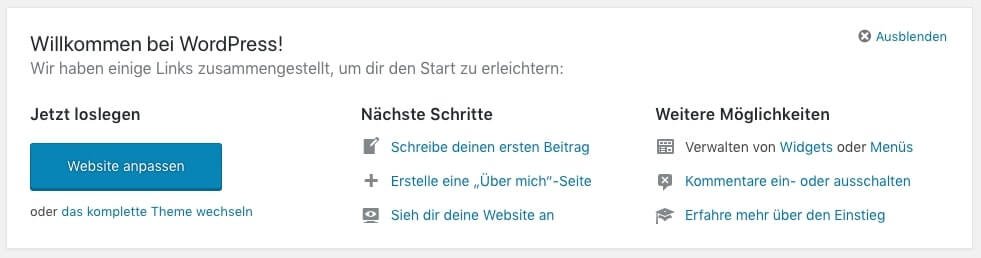
In the upper right corner there is a function to hide this tile. In general you can show or hide any tile. You can even move and rearrange the elements under the first tile with the mouse. The small triangle in the upper right corner of each tile shows or hides the respective element.
The following items appear by default on the dashboard when you install WordPress again. If you install plug-ins, the plug-ins can display additional items on the dashboard.
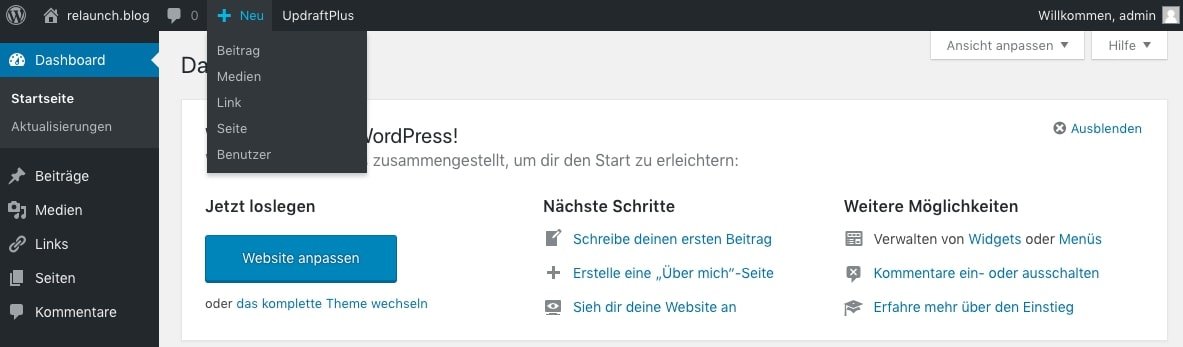
The toolbar is the central navigation element. From here, the most important functions can be accessed with just one click. If you move your mouse over the "+New", a submenu will be displayed which will take you directly to the creation of a new post, for example. New comments are displayed on the speech bubble, plugins - here "UpdraftPlus" - use the toolbar to link the most important functions.
On the left side of the dashboard is the main navigation, from here you can access every function and all settings for your WordPress blog. If you need more space on your screen, you can temporarily hide the navigation by clicking on the last entry "Collapse menu". The menu then moves to the left and only displays icons for the individual functions. By clicking again - now on the last icon in the bar - the menu opens again.
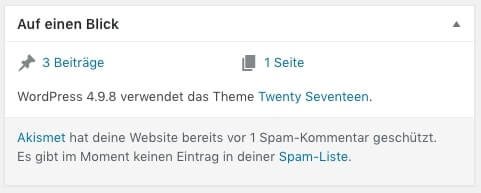
In this element you can see how many posts and pages have been published in your blog. In our screenshot, the spam plugin "Akismet" also shows how many spam comments have already been detected by the plugin. The WordPress version and the topic name are also displayed. By clicking on the corresponding links, you will get to the respective areas and can for example quickly switch to your posts on the pages.
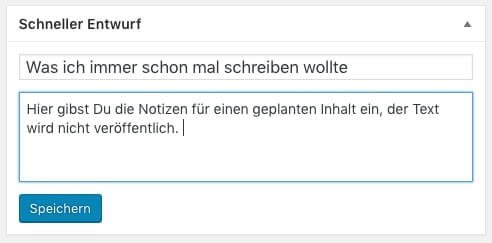
"Quick Draft" in WordPress is used to create notes for later contributions. Just enter a title and write your notes in the text box below. The draft will of course not be published, but will appear in the list of your contributions. The following screenshot shows the quick draft in the post list, marked as "draft":
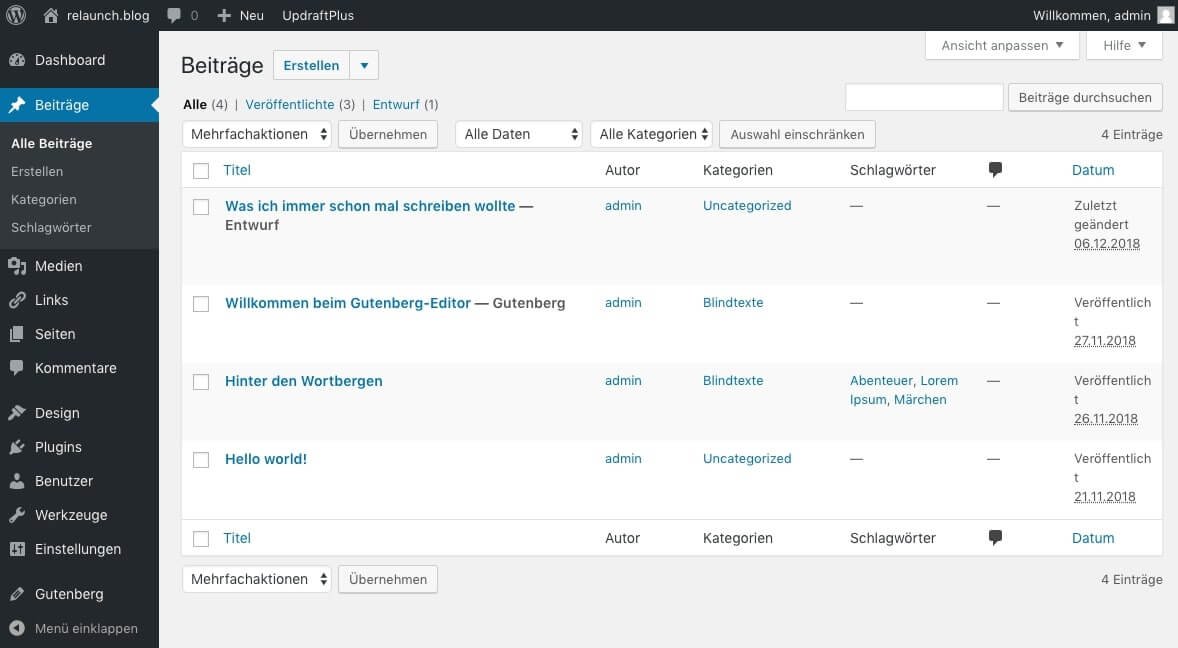
From this list you can turn your quick design into a fully-fledged contribution
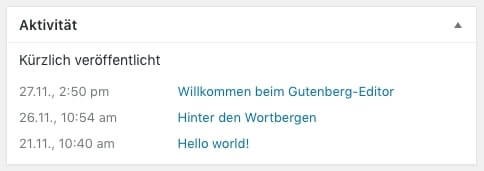
The activity tile shows you your last activities in your WordPress blog. Quite a banal function, but it can help to get to the most recently published posts and pages quickly. Simply click on the linked content and you'll be taken directly to the editing screen of the respective content.
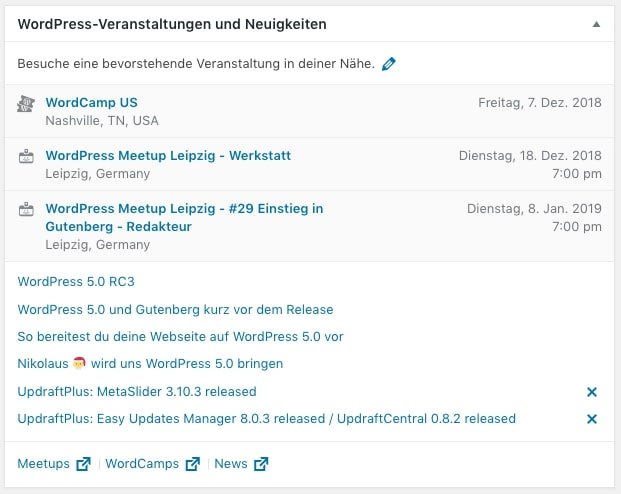
In this element you will find news about WordPress, such as upcoming updates or even references to events.
At the top right is the tab "Customize view". If you click on this tab, a menu will shut down where you can activate and deactivate the elements for the dashboard.

By clicking on the respective checkbox, you can set which elements should be displayed on the dashboard. In this menu additional elements of plugins installed later can appear.

As you can see in the screenshot above, the plugins "Elementor" and "Yoast" are listed here.
Don't feel like the standard color scheme of your WordPress dashboard? No problem, every user who gets access to your dashboard can choose his own color scheme. Click in the left navigation on "User" and then on "Your profile".
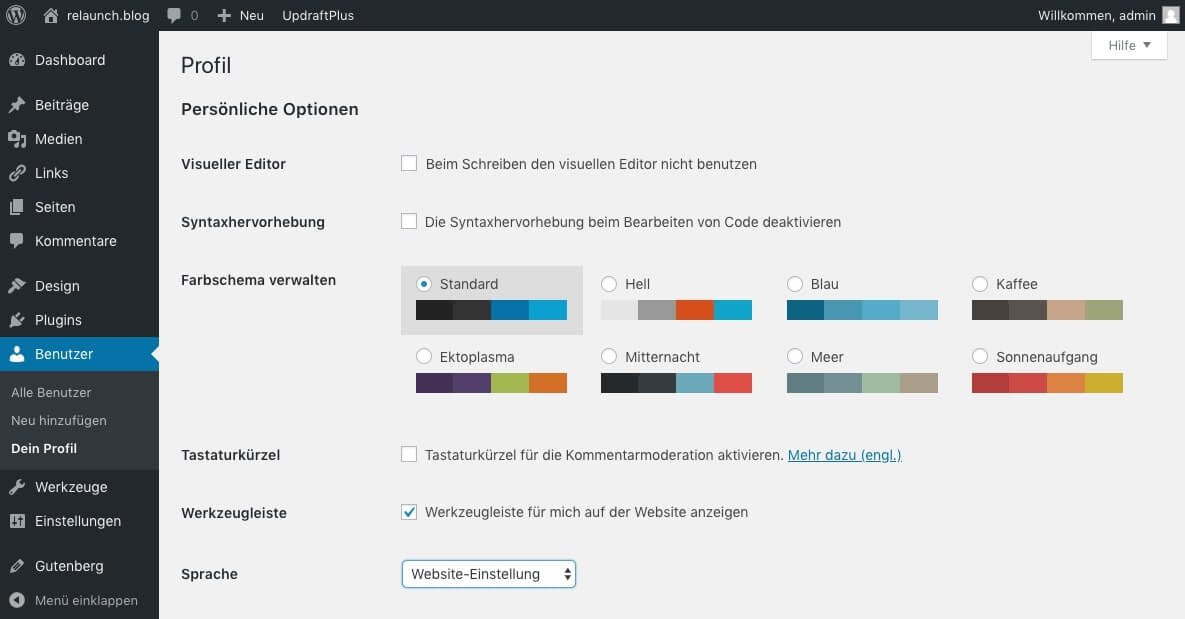
In your profile settings you have the possibility to choose your favourite colours from eight different colour settings. There are also other settings, such as the language of the backend or settings for tools to define. Each user can thus set up and individualize his or her own "WordPress environment".
We are pleased if we could arouse your interest in WordPress. The following list contains some links to get started with your WordPress page: