WordPress has developed in a short time from a blogging software to the most used CMS. This makes the software interesting for attackers as well. In this article I will show you the tricks you need to make your WordPress secure.
Not a day goes by without new vulnerabilities being discovered in the software. This makes it all the more important to keep WordPress up to date. This applies not only to the WordPress version, but also to plug-ins and themes. WordPress makes it easy for you: if an update is available, you are made aware of it in the backend.
The plugin WP Updates Notifier notifies the website operator via email about updates (WordPress, plugins and themes). In my opinion, this is a function that belongs in the standard WordPress function, because not everyone uses WordPress daily as a blog to communicate - sometimes admins don't log in for months.
It is important to make a backup before major updates. The latest WordPress version with the theme used is not always understood. An immediate backup can be performed via Checkdomain. Another tip: make a copy of your blog (e.g. accessible under a subdomain). There you can test the update and identify problems before the blog goes offline.
It is actually believed that nowadays nobody uses passwords like "test123" or the wife's name anymore. Those who still do will find good rules for a secure password here: Parole Kartoffelbrei or: das sichere Passwort
You should also avoid using the user name "Admin". Many attacks are cut to this username (formerly in WordPress Standard).
A simple but effective means is to provide the admin directory (wp-admin) with directory protection (.htaccess). You can do this comfortably via the checkdomain customer menu.
The Plugin Limit Lockin Attempts goes another way: if there are failed logins, the IP is blocked for 20 minutes after four attempts, and for 24 hours after another four attempts. Thus, guessing your password is detected early and prevented. One must be careful not to lock oneself out. The values can be configured:

You should only install the plugins you really need. Everything you don't need should at least be disabled. Before you install a plugin or theme, you should inform yourself about it. On the official WordPress pages you can find a lot of information, like reviews from other users or how often the plugin is updated. It is also important not to get your extensions from unknown sources or portals. One is always well advised to stick to the official WordPress sources or well-known portals (like themesforest.com). It is also often worth investing a few euros in a premium theme. These themes are updated more frequently and more attention is paid to security than free themes.
The following plugins are available for themes to check for security vulnerabilities:
Comments are the salt of a blog. It's all the more annoying when you notice that the comments advertise drugs or link to malicious code. You can help yourself by only displaying the comments after they have been approved, and only allowing comments from registered users.
Often spam can also be prevented by integrating a captcha (e.g. plugin captcha). Captchas have the disadvantage, however, that they are cracked by automatisms, if these are knitted too simply. If they are too heavy, the visitor may not be able to solve the captcha and leave a comment.
In the Anti-Spam section there are also plugins that automatically detect and block spam content. Askimet is already included in the standard installation. In the opinion of some users, however, it cannot be used without risk due to data protection regulations in Germany. Antispam Bee is an alternative. It is harmless from a data protection point of view and German documentation is also available.
Many plugins have now been mentioned that cover individual areas. But there are also extensions that want to bring everything under one roof.
The best known all-round plugin is probably Better WP Security. Over 1900 ratings with 5 stars (average 4.8) speak for themselves. The plugin offers a lot of features and is available in German language. Other plugins like the previously mentioned Limit Lockin Attempts become superfluous. The screenshot shows that the amount of options would go beyond the scope of this article:
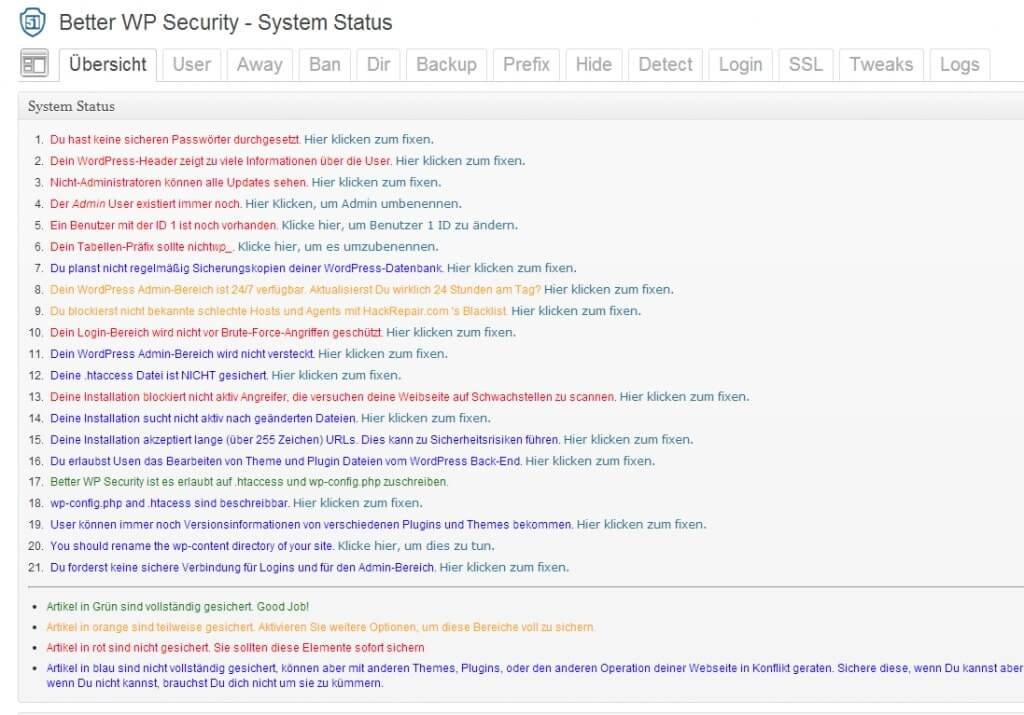
The individual points are divided into different risk groups. This is represented by different colours. Permalinks are assumed for some functions. A one-click protection is offered, which uses many functions immediately. Before you do this, you should make a backup. A disadvantage is that some features are very resource consuming.
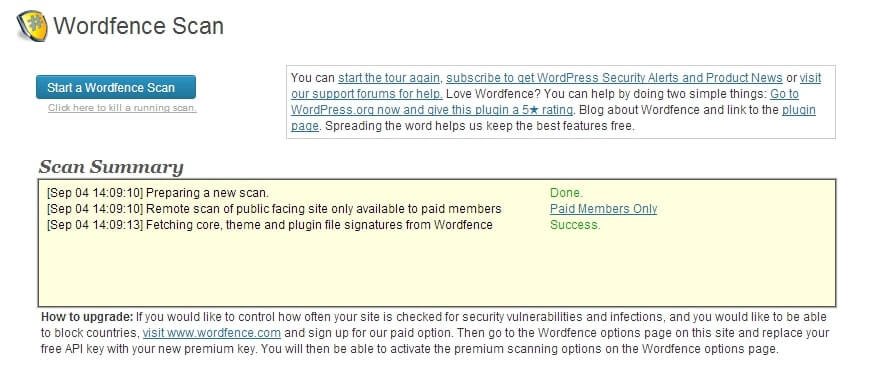
Wordfence Security calls itself an enterprise solution. Among other things, a 2-factor authentication via a mobile phone or the repair of a WordPress installation damaged by malicious code is offered. However, these functions are no longer free of charge and require an annual fee.
BulletProof Security follows a similar approach to Better WP Security. Here, special emphasis is placed on simplified protection via .htaccess. However, there is no German translation yet.
The Ultimate Security Checker is considered to be particularly resource-saving and easy to use. During a short test I got the error message that the installed version (3.6) is not supported yet.
Don't worry, it can happen to the best. We have put together a first aid kit for you, which you should follow in case of a hacker attack. Here you can find our instructions.
I already mentioned that Checkdomain creates a backup for your webhosting. If this is not enough, you can also use BackWPup. This allows you to automatically send backups to FTP servers or various cloud services.
Meanwhile there are companies, like Sucuri, which have specialized in the protection of CMS. For a fee, the website is individually checked for security and monitored. A Malware Check is offered free of charge directly on the site.
Do we now have to implement all these points? No, certainly not. If you keep your WordPress up to date and are careful when selecting plugins, you have already won a lot. You should already secure the admin area, be it via .htaccess or plugin. Secure passwords are a matter of course!
If you choose a theme from the official WordPress sources, you don't have to do a theme check via plugin. The extension Antivirus is more suitable because it checks daily for security gaps. If there is a warning Google Safe Browsing, the administrator is informed by email.
Whether you use anti-spam depends on the number of comments. Anyone who has witnessed the number of comments rising from 2 to 876 overnight will be happy with such a solution.
If you want to delve deeper into the matter, you can look into all-round plugins such as Better WP Security or BulletProof Security. Whether or not all options are really necessary is debatable. I consider the concepts "Security through obscurity", e.g. bending the folder structure or changing the table prefix, to be superfluous and error-prone. These all-round plugins seem overloaded to me.
For website operators who use their blog professionally and don't want to deal with various settings, paid offers are certainly worth considering.
Finally, I'd like to mention the security of your local PC. The operating system and other software must be kept up-to-date. An up-to-date antivirus software should be installed. The WordPress security is of no use if the FTP password is read on the home PC via Trojan.
Many of us are "Admin". At least if you already have your WordPress blog a bit longer and don't mind the automatically assigned username - because until WordPress version 3.0 it was always Admin. Last year hackers took advantage of this automatism and attacked WordPress blogs by the dozen, whose access was only protected by the combination of "Admin" and one of the common passwords à la 1234. Actually this wave should have triggered an alarm at the latest with all, which are still on the way as "Admin" - actually this Username is however still widespread.
In this article we will show you step by step how you can replace the admin username with an individual username and thus significantly increase the security of your WordPress blog..
And of course you shouldn't forget to get a really secure password. You can find tips on this in our article series on the subject of secure passwords.
The same rules apply to usernames as to passwords: the more complex they are, the more difficult they are to crack. So please don't call yourself Sven1977 or something like that as an alternative to Admin, but choose a combination of letters, numbers, small and capital letters, which is not too obvious. Memorize this new username well or write it down and hide the note safely - because if you forget the username, you're screwed.
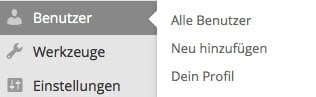
Then log into your blog for the last time as admin and go to your dashboard. There you will find the menu item "User" in the sidebar.
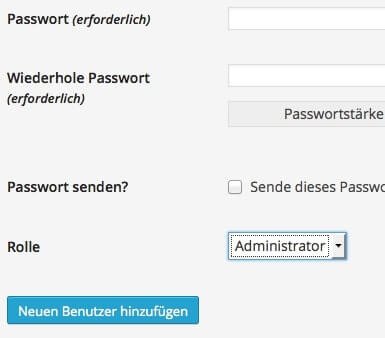
Now you create a new username, to which you assign admin rights again. Accordingly you fill in all fields in this menu, enter a new secure password and select the administrator in "Role".
Ready? Then add the new user, log out once and log in again as the newly registered new user.
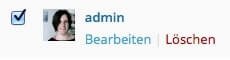
After logging in again, you can go back to the dashboard and the sidebar to "User". This time select the option "All users":
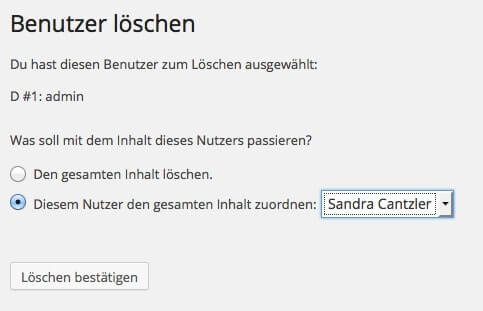
WordPress asks you in the next step, what should happen with all contributions published so far by the user admin. Since these should not be deleted of course, that you select the following option from the dropdown menu:
Depending on the theme you are working with, the respective author will be displayed for each article. Especially if you are working with several authors on a blog, this makes sense. However, it is important that the displayed author name is not identical with your user login name - otherwise you risk a large security gap.
If your user name and author name are identical, you can easily change them. Go back to the dashboard and click on "User" in the sidebar. Select "Your profile" there. Scroll down until you reach the "Names" area.
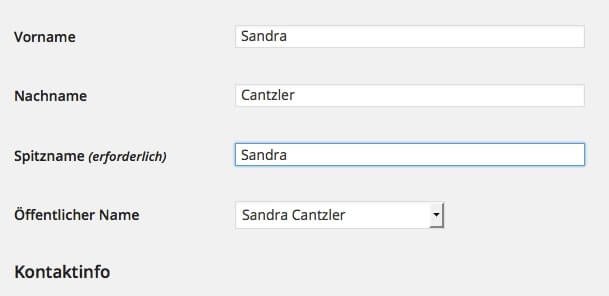
Then select the corresponding name from the drop-down menu under "Public Name" - in the example above it should also be Sandra. Finally, click on the "Update User" button at the bottom of the page to update the information.
With these changes done in a few minutes you have already provided a significant plus in security for your WordPress blog. If you have any further security tips or would like to tell us something about your own blogger experiences regarding this topic, we would be happy to receive your feedback!