WordPress plugins are small add-on programs that can be easily added to an existing WordPress blog in order to extend the blog with additional functions. The plugins are installed, activated and deleted in the WordPress backend via a central administration interface. WordPress plugins are made available on WordPress.com and can be installed directly from there.
All plugins are managed centrally in one place in the WordPress backend. Click on "Plugins" in the navigation on the left and you will get an overview of the plugins currently installed in your WordPress:
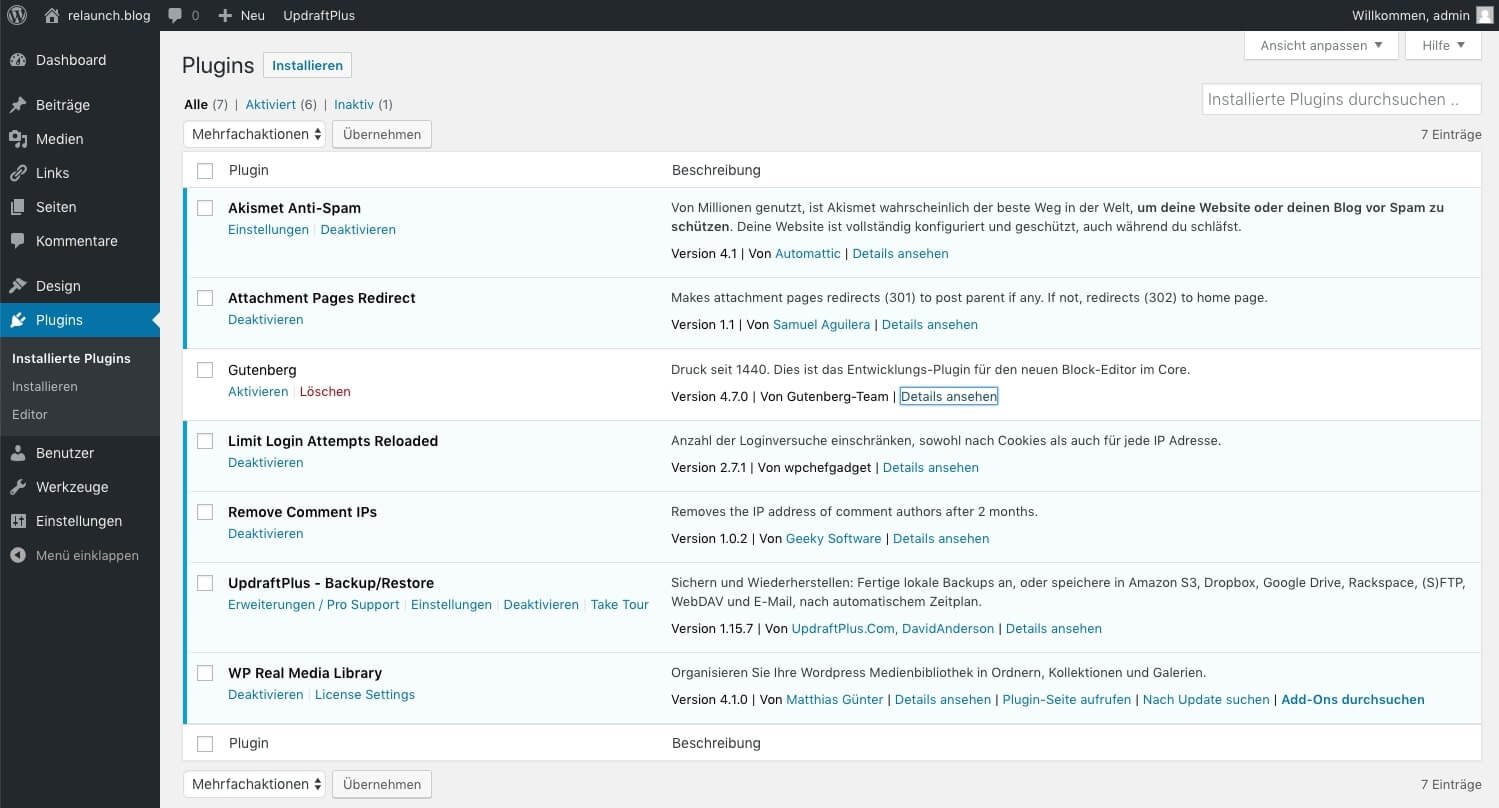
The plugin "Akismet Anti-Spam" is already installed in the standard installation. This plugin is used to detect spam comments. You can find a detailed description of how to set up Akismet here.
In some WordPress installations the plugin "Hello Dolly" also appears by default. This plugin was originally programmed by WordPress inventor Matt Mullenweg to demonstrate the power of plugins. You can delete this plugin as it will probably not add any value to your blog.

To delete the plugin, click on the "Deactivate" link under the plugin name. This will change the view, see screenshot:

The background color is now white (instead of light blue), under the plugin name you will see two new links, the activation link and the link to delete the plugin. Click on "Delete". The plugin is then deleted and no longer appears in your plugin list.
Note: We recommend a complete backup of the WordPress installation before each installation or deinstallation. So you can always "jump back" to the status before the change. You can read about how to perform a WordPress backup here.
In the plugin management you can see if there are updates for your plugins:
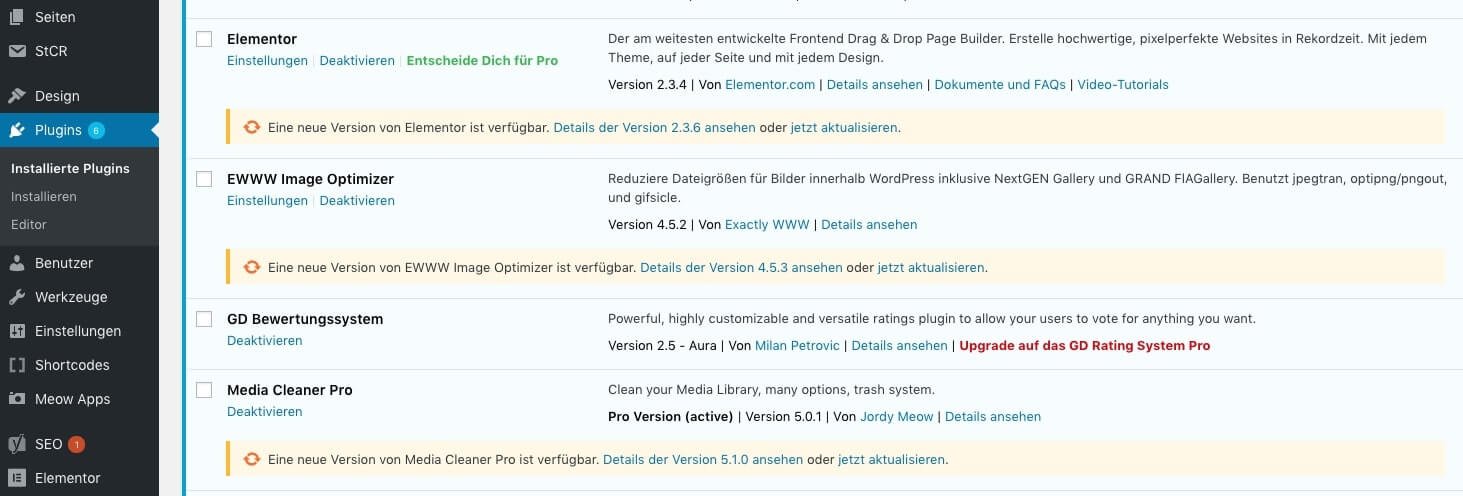
In addition, a number in a red circle at the navigation point "Plugins" in the main navigation shows you whether updates are available. So you don't have to open the plugin page to see if updates for plugins are available.
To update a plugin, click on the "Update now" link in the yellow box next to the plugin you want to update. However, before you update the plugin, you should check the plugin details by clicking on the link "Details in version...", also in the yellow box below the plugin.

The link opens a window where you can see the modification history of the plugin, the technical requirements and user ratings. You can also start the update process in the window by clicking on the blue "Install update now" button at the bottom right.
If an update fails, you will see the error directly in your plugin administration:

In the screenshot you can see the red error message, there is obviously a rights problem here. The plugin tries to create a directory for the update, but the web server prevents this.
If you can't solve the problem, please contact the support of your provider. You can reach our support under: 0451/70 90 70
There are two ways to install WordPress plugins, the installation via the WordPress plugin directory and the more complicated installation via FTP. In this tutorial we choose the simpler way. A detailed manual for manual installation via FTP can be found here.
Open the plugin management in your WordPress backend and click on "Install" in the main navigation. The plugin directory of WordPress opens in the main area. In our example we would like to create a pre-announcement page, search for "Coming Soon Page" in the search field.
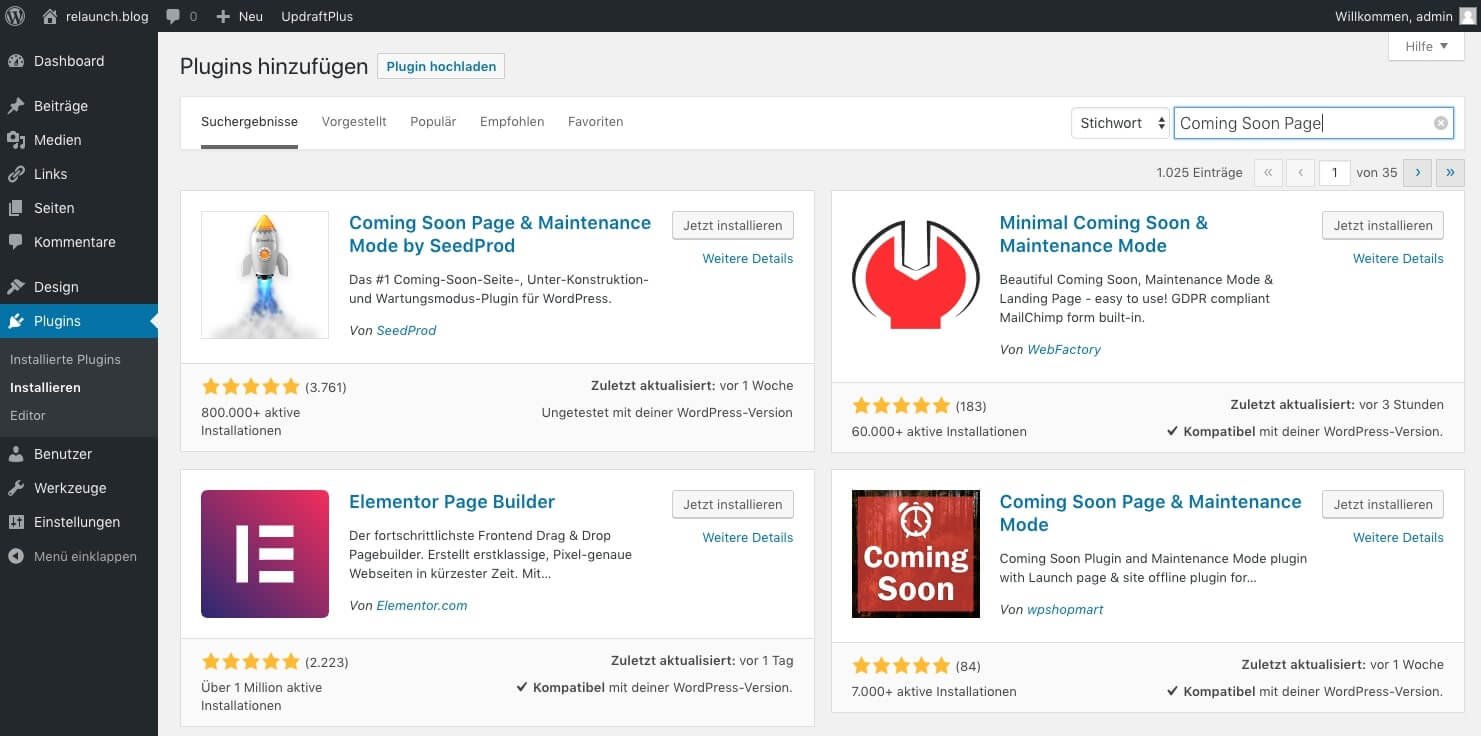
In the screenshot you first see the plugin "Coming Soon Page & Maintenance Mode by SeedProd". Click on the link in the tile "More details". Another window will open.
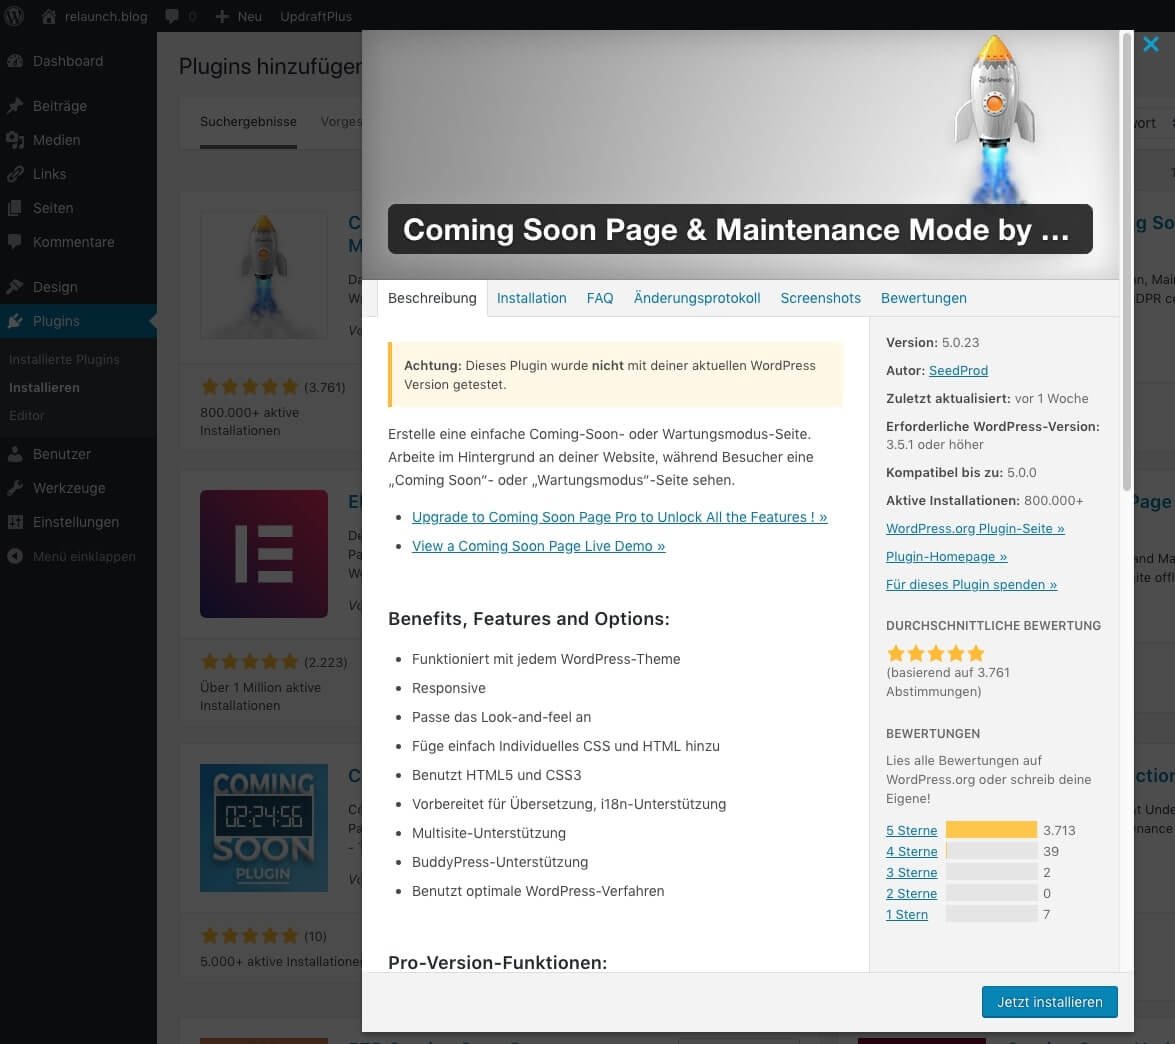
You can now install the plugin directly by clicking on the "Install now" button. After the click the window closes, in the background the plugin is downloaded and installed immediately. In the tile the content changes slightly: The button "Install now" becomes "Activate". Click on the "Activate" button to activate the plugin. The plugin directory will be closed. This plugin will take you directly to the plugin setup. Here you can make your settings, so that the plugin installation is finished.
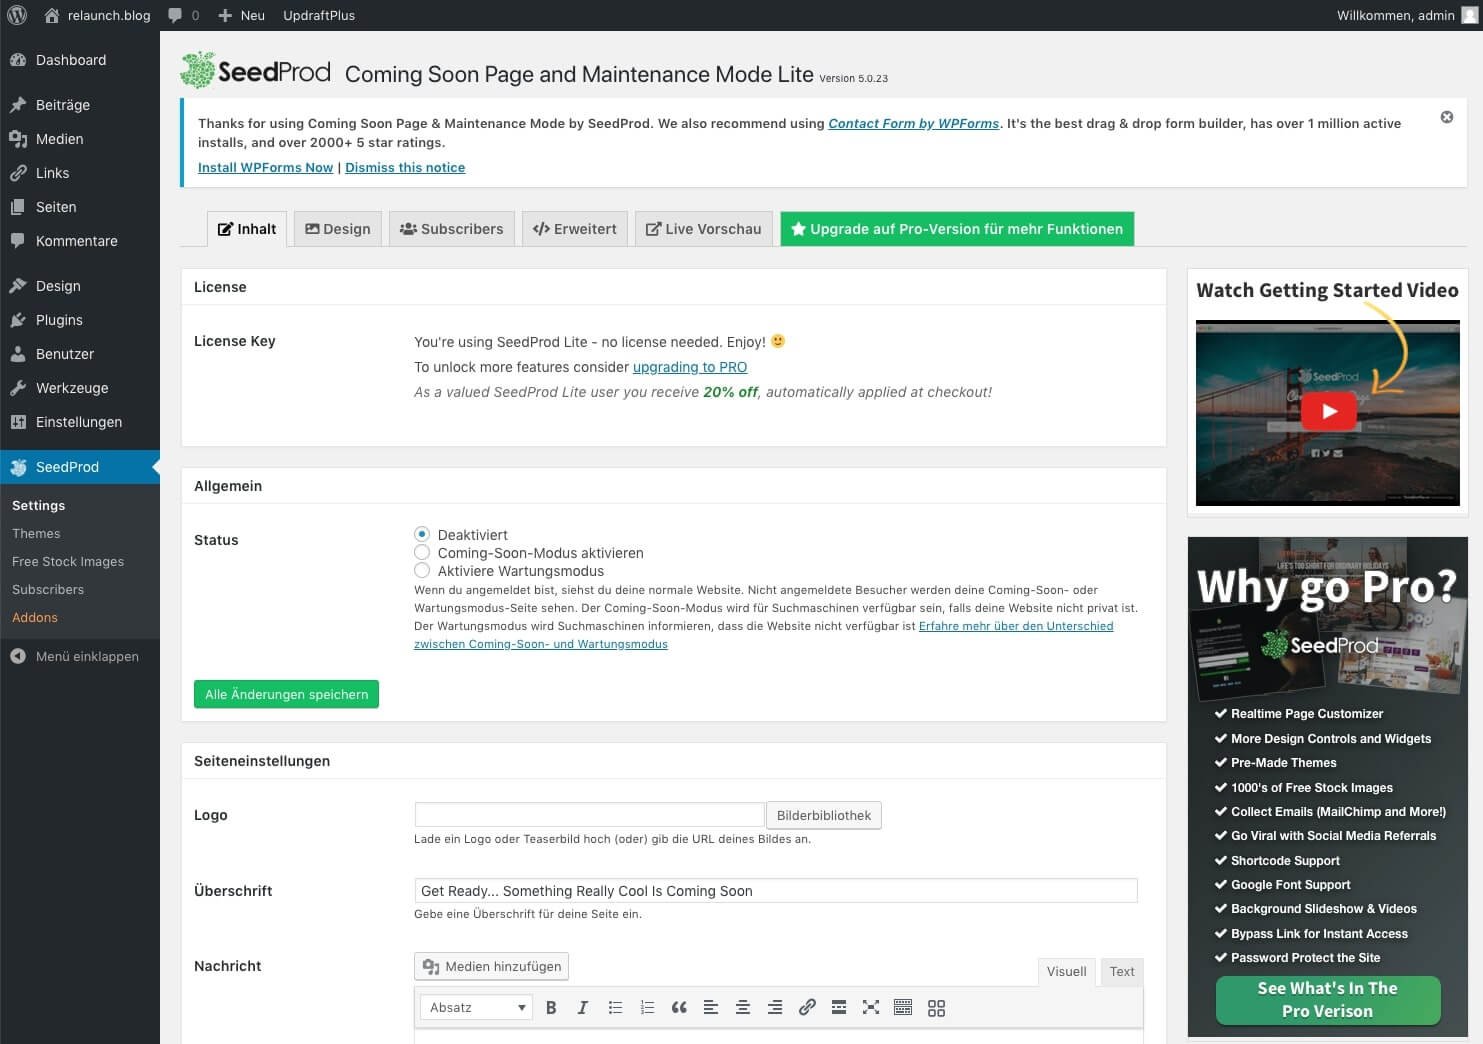
By the way, the plugin is very useful, especially if you start a new blog. The plugin will open a pre-announcement page and search engines won't be able to index your blog. In addition, you can activate a maintenance mode or (in the Pro version) collect email addresses from the pre-announcement page.
The installation of plugins is not always as easy as in the example shown here. Therefore we would like to give you a few tips for the installation of WordPress:
In general, the plugins that you can install via the WordPress plugin directory are checked for security vulnerabilities. Nevertheless, you should always remember that you always install new security risks with each additional plugin. Unused plugins should be deleted, as they also contain bugs and could be abused.
With WordPress plugins, you can quickly and easily drill into your WordPress blog with additional functions. Despite the simplicity you should never lose sight of the security of your blog. Therefore create a complete backup before each plugin installation and delete unused plugins.