With this article we show you how to set up a WordPress blog locally on your Mac. We describe two ways to install WordPress, where the installation via "Bitnami" is much easier and faster than the installation via "XAMPP" and "PHPMyAdmin".
There may be several reasons to install WordPress on your Mac. For example, if you don't want to rent hosting yet, but still want to get up close and personal with WordPress, a local installation makes sense. This way you will not incur any unnecessary costs for WordPress hosting. A second reason could be the testing of certain functions that you would like to try out before integrating them into your live page.
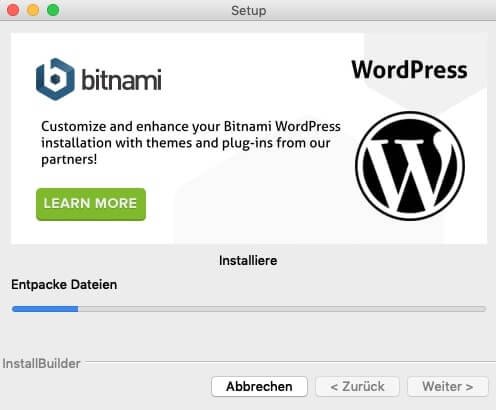
As already mentioned, this way of installation is the fastest and easiest. Bitnami provides ready-made packages of more than 130 applications for various platforms. The WordPress package already contains everything you need to run WordPress on your Mac and can be installed with just a few clicks.
When everything has worked, the installation process opens your web browser:
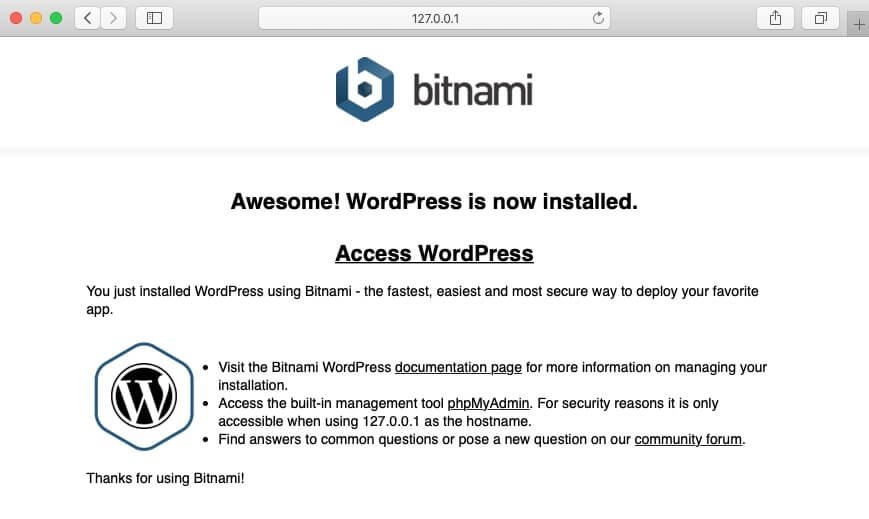
Your WordPress page is available at the address: http://localhost:8080/wordpress/. The administration interface can be found at the address: http://localhost:8080/wordpress/wp-admin/
The installation is a bit more complicated if you do the installation via XAMPP. Here are some more steps and setup processes to overcome. XAMPP is a completely free, easy to install Apache distribution that includes Apache, Maria DB, PHP and Perl (these things are needed as a "substructure" for WordPress).
The Bitnami installation comes with a plugin for importing and exporting existing blog data. With the plugin "All-in-One WP Migration" you are able to migrate your existing blog locally to your Mac with just a few clicks. You install the plugin on the WordPress system that you want to copy into your local installation. There you export all data including pictures and database via this plugin. You can then import the "export package" into your local WordPress installation using the plugin. You create an image of your live page and can now make local changes and test. Also for this no programming knowledge is necessary.
You can find the "All-in-One WP Migration" Plugin here:
https://wordpress.org/plugins/all-in-one-wp-migration/
As mentioned above, the installation via "Bitnami" is very easy and fast (about 10 minutes). The second way is a bit more complicated. Due to the many things to keep in mind when installing via XAMPP, errors can easily creep in. However, the XAMPP installation is always recommended if you want to test other programs or tools on your Mac that need this environment.
We are pleased if we could arouse your interest in WordPress. The following list contains some links to get started with your WordPress page: