Blogsystem from Wordpress. Probably the best-known blog system, with a lot of administration power and easy to use.
In this manual you will learn how to use Wordpress automatically in your customer area. on www.checkdomain.net to install the software.
An automatic installation is only possible from the Start Pro 5.0 web hosting package.
On our homepage at www.checkdomain.net, click on My Login at the top right and select "Customer Area" to log in.

You will reach the login form where you enter your customer number or e-mail address and your customer password and then click on the "Login" button.
You are now in your customer area. Click in the left navigation on the navigation point "Webhosting".
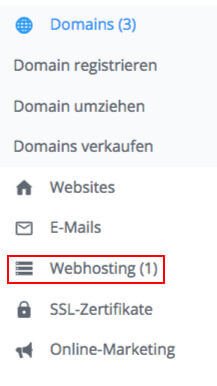
In the following menu, click on the "Software" button.
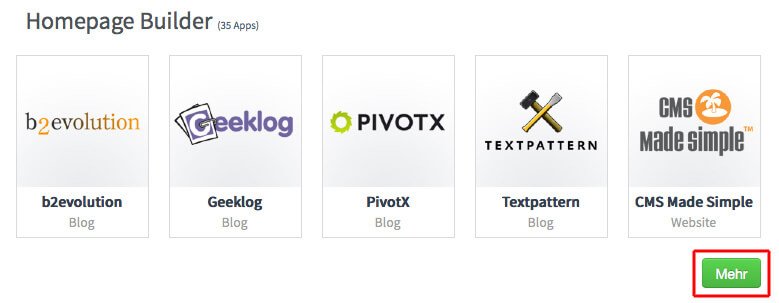
Click on the "More" button in Homepage Builder.
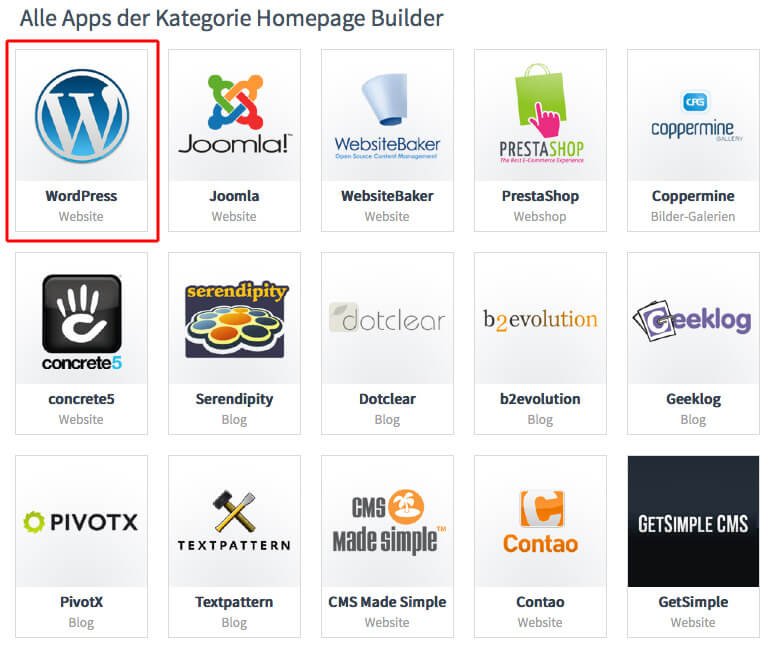
In the software overview, select "WordPress".
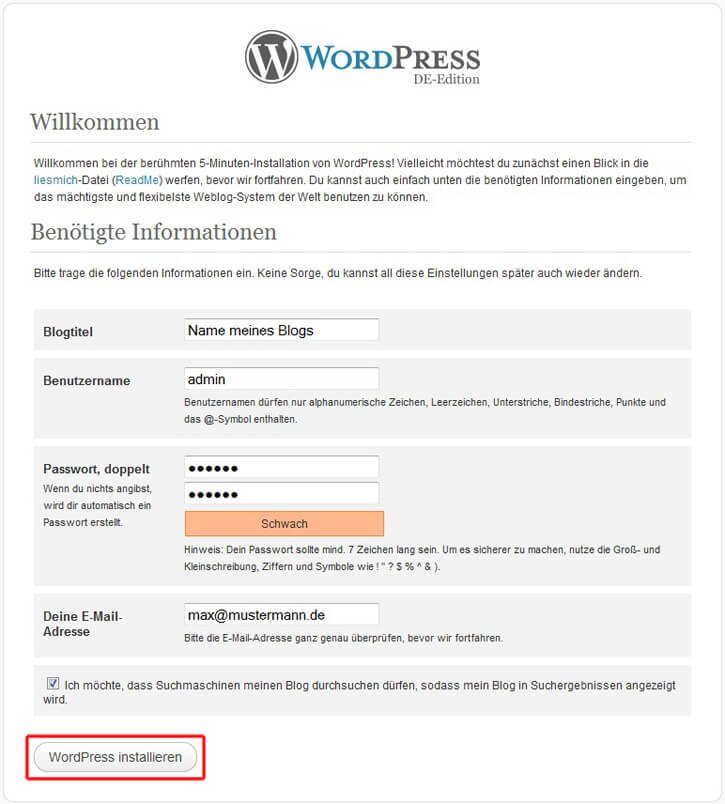
You will now see the following screen. Here you have the possibility to change the title of WordPress or your e-mail address. However, the entries do not have to be changed. However, this information does not necessarily have to be changed.

First select the target domain under which the software is to be installed. So that your WordPress appears directly with input of your domain name, set the point before "Direct call via domain". If the installation is to be carried out in a subdirectory or under a subdomain, select this accordingly.
If necessary, enter an alternative directory name in which WordPress is to be installed.
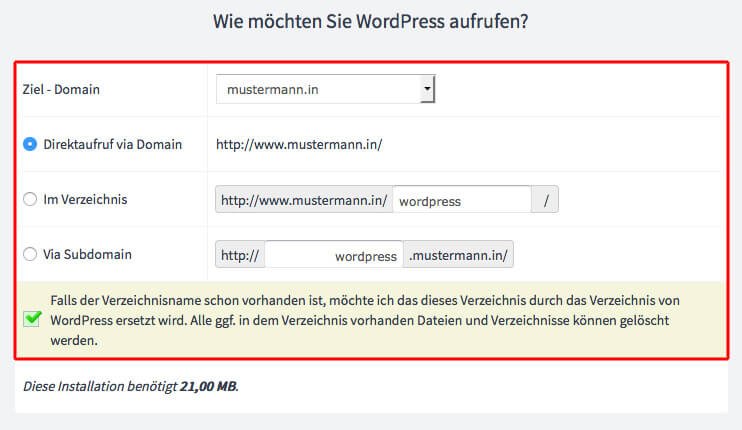
If the Joomla-CMS is installed in an already existing directory, all other files and folder in the directory can be deleted. To do this, check the corresponding box.

Then check the box to agree to the license agreement. Confirm your entries by clicking on "Install now".

You will now receive an e-mail with a link that you can use to make all the other settings. After receiving the e-mail, the installation is complete and the software can be accessed under your domain.
With our ranking coach you can easily and quickly perform SEO for Wordpress.
We are pleased if we could arouse your interest in WordPress. The following list contains some links to get started with your WordPress page: