Matomo doesn't tell you? But then maybe Piwik - because that's what Matomo used to be called. This is a very good alternative to Google Analytics. Due to the possibility to store the data on your own server, this tool is more data protection compliant than Google Analytics. It can be used for all websites and of course also for your WordPress blog. If you want to comply with the strict guidelines of the Data Protection Basic Regulation (GDPR), then you should take a closer look at this tool.
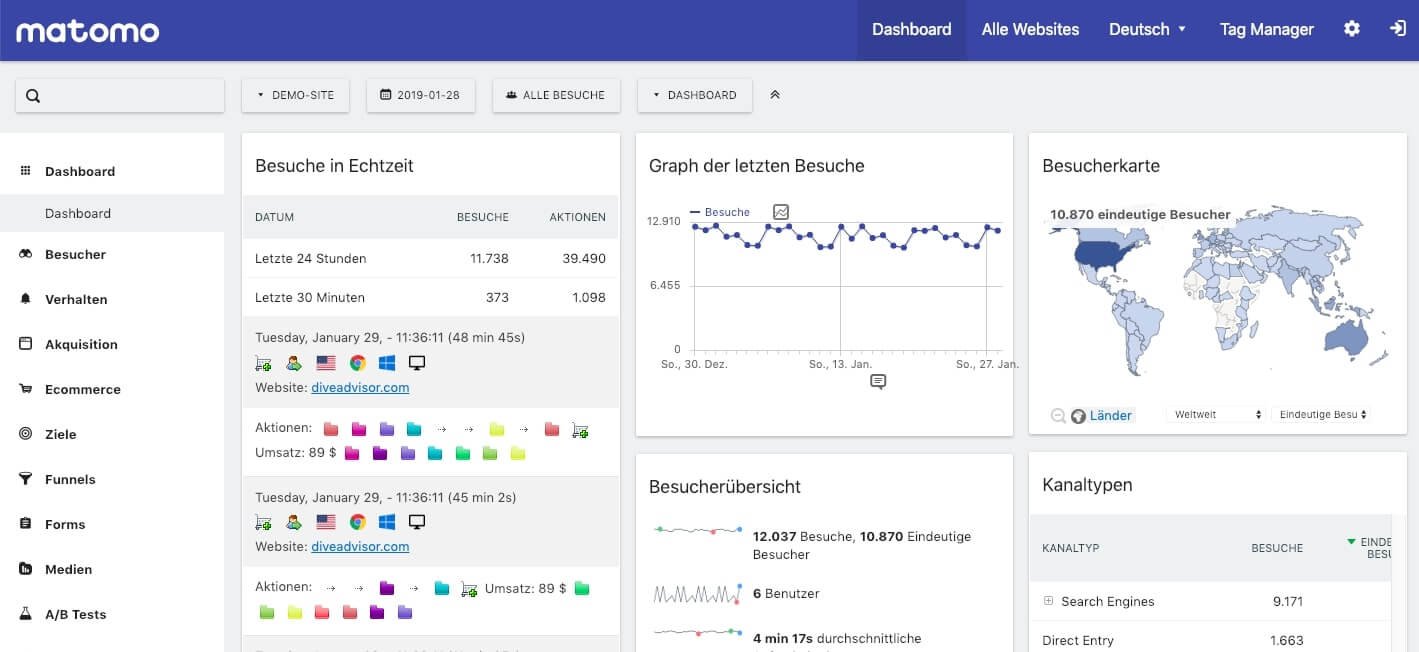
Under the following address: https://demo.matomo.org/ you can get an insight into Matomo, there you will find a public demo version:
The minimum requirements for Matomo are as follows:
In addition, you need FTP access to upload the data to your web server. The installation itself is then similar to a WordPress installation.
First, download the latest version of Matomo from this address: https://builds.piwik.org/piwik.zip
Extract the ZIP file and upload it to a subdirectory of your web server, for example www.your-site.com/matomo. If possible, we recommend installing it in a subdomain to avoid problems with URL forwarding within the WordPress environment - such as https://matomo.my-website.com. By the way, you can also evaluate different web sites/domains with this installation later on.
Matomo needs a database, which you create via the administration area of your domain. Remember the access data of your database, because you will need it later during the installation.
Now open a web browser and enter the address where you uploaded the files. If everything works, you will see the Matomo welcome screen. The installation process consists of nine steps, all of which are relatively self-explanatory
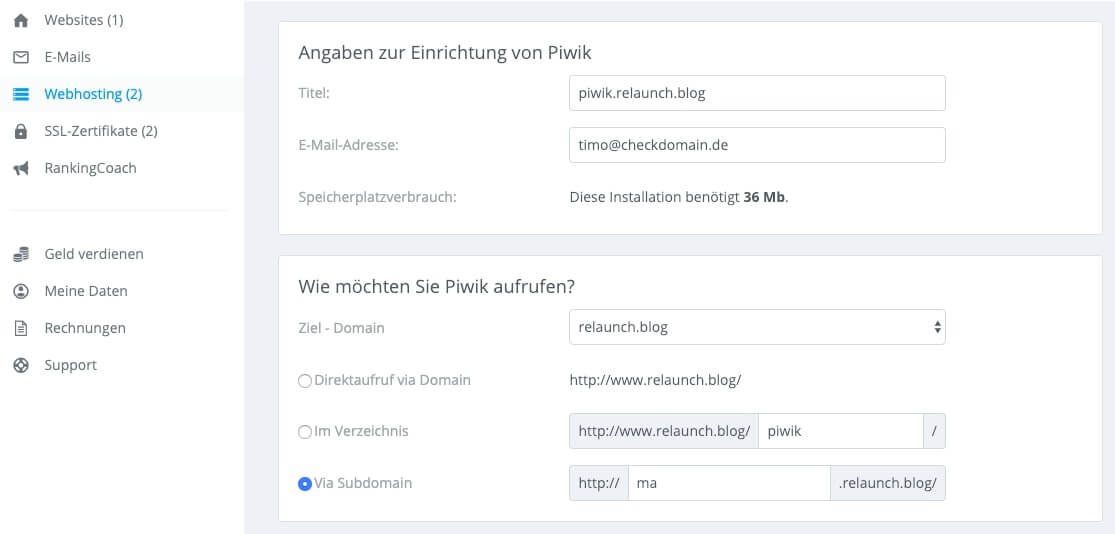
Installation in our customer area is simpler. There you can
install your Matomo with one click via "Apps":
https://www.checkdomain.net/en/login/packages/apps/application/piwik/
After installing Matomo, all you have to do now is integrate the JavaScript code into your WordPress blog. The easiest way to integrate it is via the plugin "WP-Matomo".
Log in to your WordPress dashboard and search for "WP-Matomo" in the plugin directory:
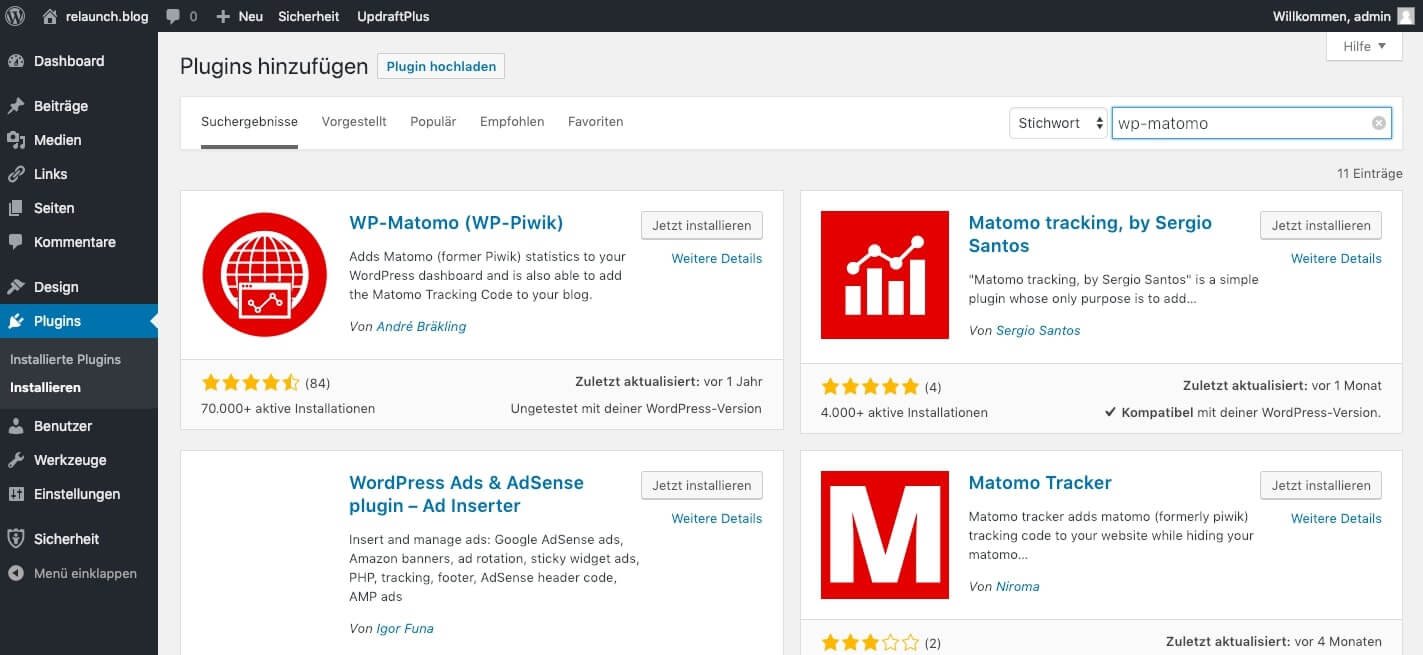
In the screenshot above you can see the plugin "WP.Matomo (WP-Piwik)". Click on "Install now" and then on "Activate" to set up the plugin for your blog.
Then switch to the settings of the plugin. There you enter the URL of your Matomo installation (e.g. http://matomo.relaunch.blog) and an "Auth-Token". This key is needed so that the plugin and your Matomo instance can communicate with each other, it is a kind of password.

You get the Auth-Token in the Matomo interface. Log in to your newly installed Matomo, click on the gear in the upper right corner and select "API" in the left navigation.
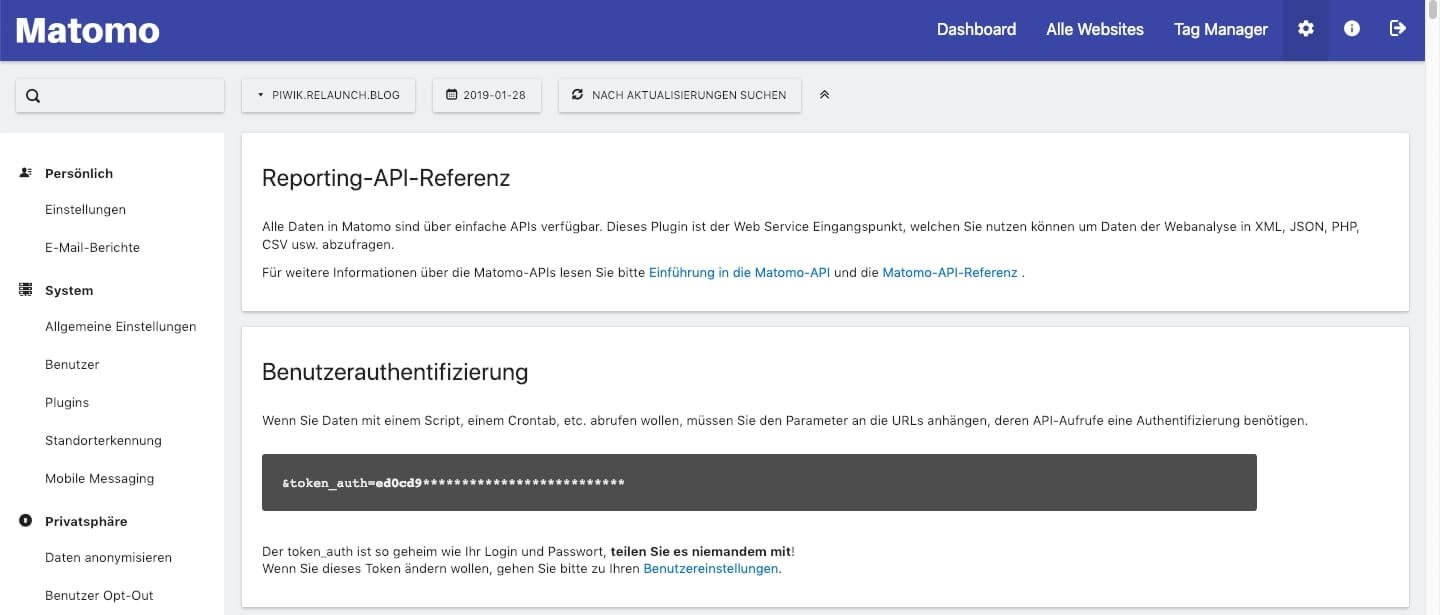
Click on the grey box, all characters of your token will be displayed in plain text, copy this string and paste it into the corresponding field of the WP-Matomo plugin. But beware: remove the characters "&token_auth=" at the beginning of the string! Click on "Save changes" - if everything worked, the plugin should return a success message.
Now click on the "Activate Tracking" tab. There you set "Insert Tracking Code" to "Manual Input". Copy your Matomo tracking code into the text field that appears.
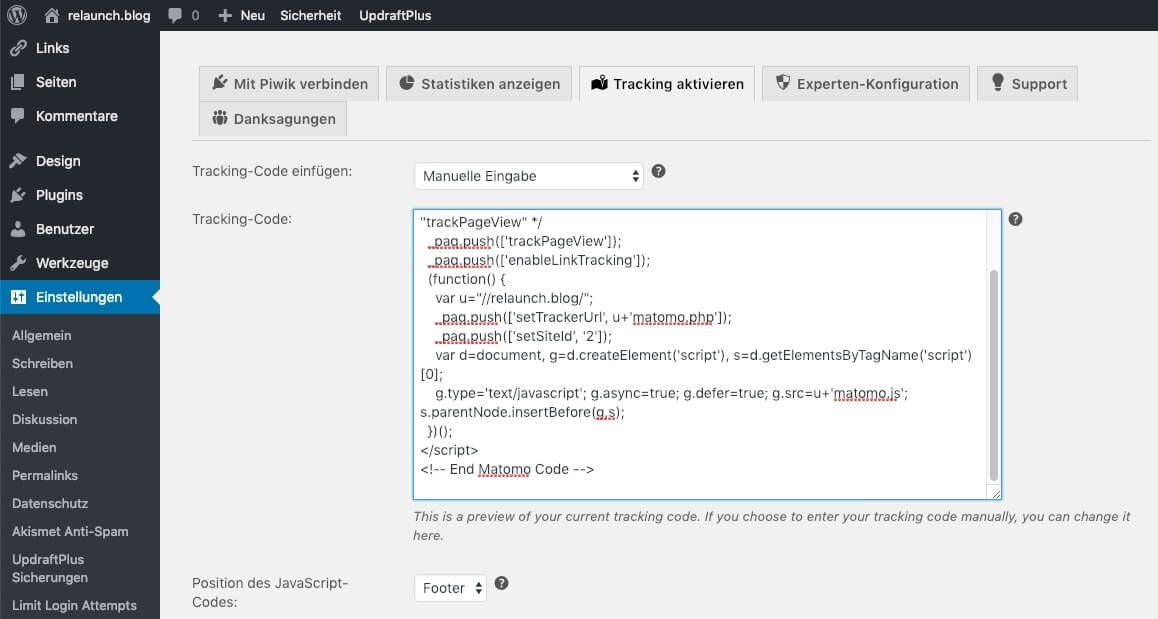
You get the tracking code directly after the Matomo installation or in the setup (gearwheel) under "Tracking Code" in Matomo. Then click on "Save changes". From now on the tracking code will be automatically inserted into your pages.
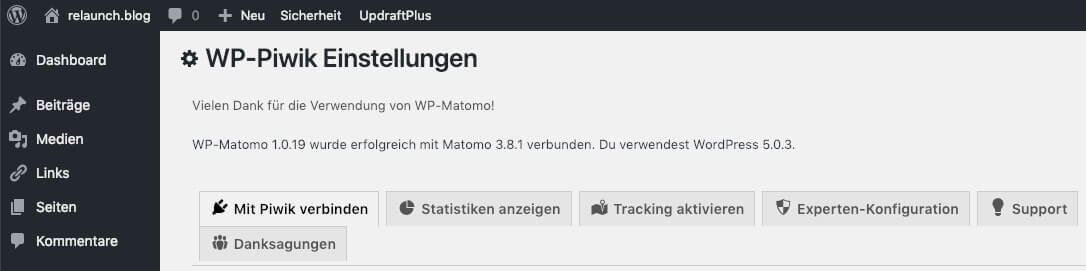
In the WordPress Dashboard you can directly view the Matomo statistics. Click on "Dashboard" and then on "WP-Piwik":
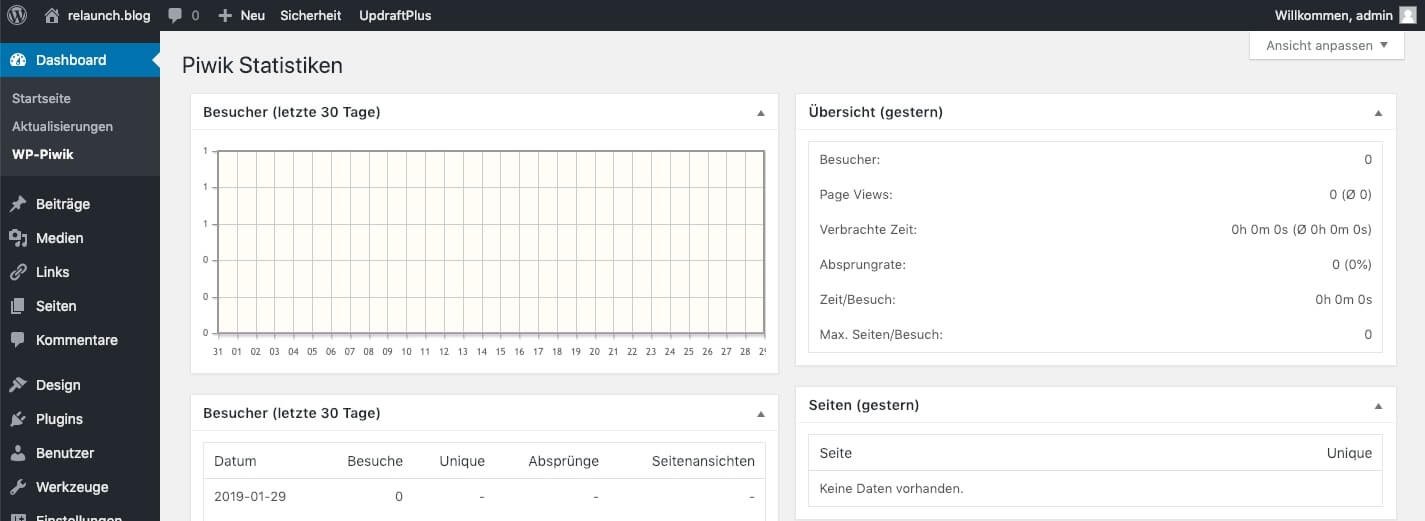
The displayed data are only a small part of the Matomo statistics. For a complete statistic you have to log into your Matomo installation.
Matomo is already relatively privacy friendly, but you should check the following settings in Matomo:
In Matomo go to the settings by clicking on the gear in the upper right corner. In the left navigation you will find the item "Anonymize data".
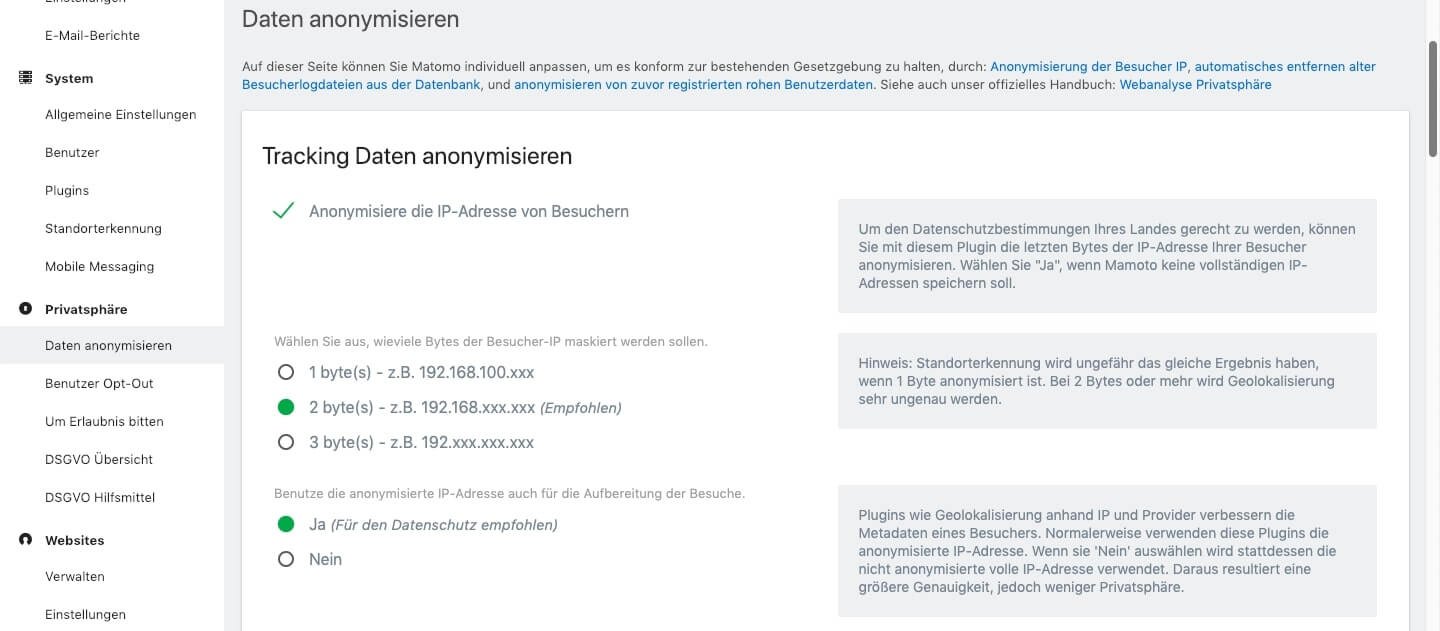
Select the options as shown in the screenshot above to make the IP addresses of the visitors anonymous. Then click on "save".
In addition to anonymizing the user, you must inform the user in your privacy policy that you are using Matomo and give them the option to disable tracking (opt-out).
For example, you can generate privacy notices at https://datenschutz-generator.de/, where there is a separate section for Matomo usage.
You can solve the Opt-Out function via an iFrame, the source code can be found in the Matomo settings, under "User Opt-Out". Copy the iFramcode into your privacy policy.
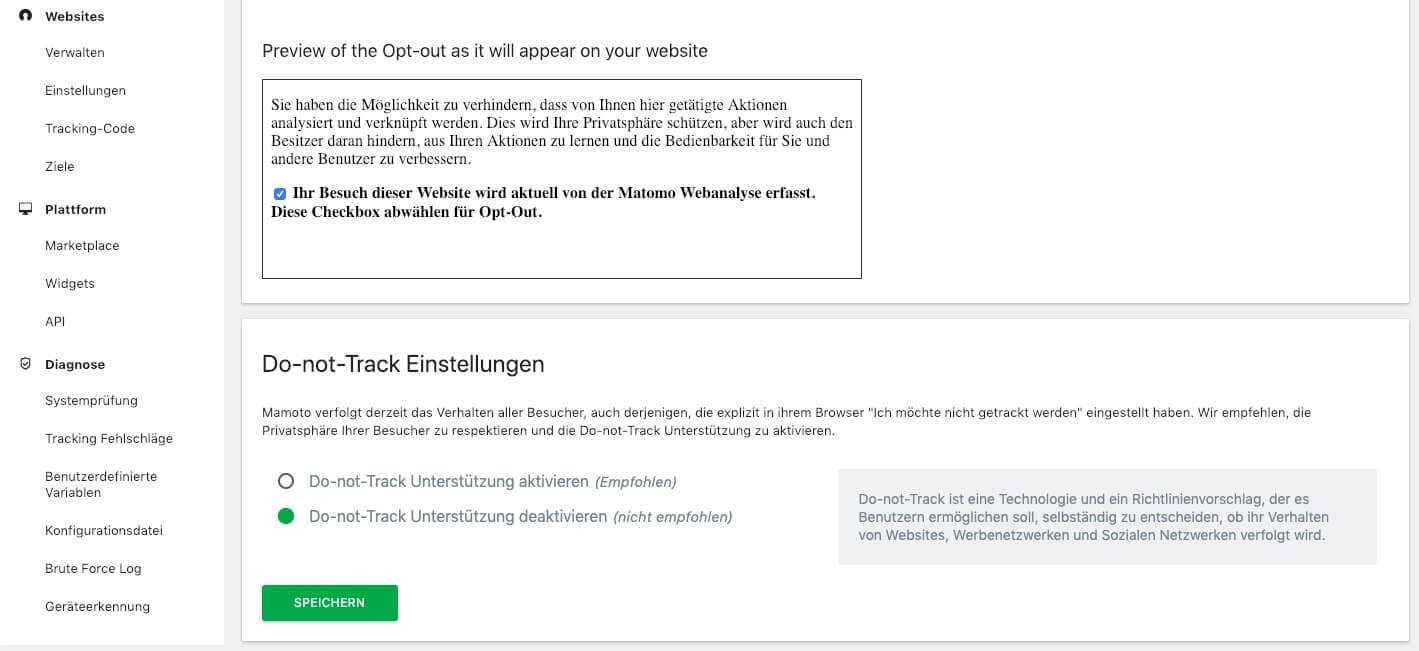
In addition, we recommend activating the "Do-not-Track" support. This setting allows your users to decide for themselves which data is collected from them.
Installing Matomo is a bit more complicated than setting up Google Analytics, but with Matomo you're more of a master (or wife) of your data. Note: You can also set up Matomo to be non-compliant with data protection by hosting the data abroad, for example, or by not anonymizing the IP addresses. Due to the WordPress plugins, the connection is relatively simple, but requires one or two clicks.
Now you have the possibility to make further settings for the plugin. In order to be able to make all further settings, simply select the tab "Advanced".